Top 10 Best Ideas for Preschool Science Activities

Designed to captivate young minds, these activities blend education with enjoyment, fostering a love for learning in our little scientists. From bubbling ... read more...chemistry to nature classrooms, dive into a world where science meets play for Toplist's Preschool learners.
-
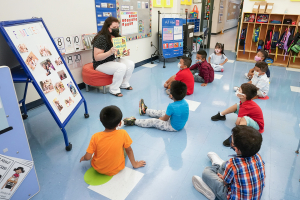
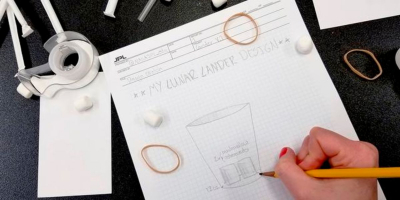
Embark on a delightful journey of discovery as you introduce your preschoolers to the fascinating world of engineering through an engaging building challenge. This hands-on activity encourages young minds to delve into the basics of construction and design by tasking them with creating bridges using everyday materials like toothpicks and marshmallows.
In the toothpick and marshmallow bridge-building challenge, participants use toothpicks and marshmallows to construct bridges. The objective is to create a sturdy bridge capable of supporting weight. Participants explore basic engineering concepts, experiment with different designs, and collaborate in group settings.
The challenge culminates in testing the bridges by placing lightweight objects on them. A reflective discussion follows to assess what worked well and areas for improvement, fostering a growth mindset. Optionally, the activity can turn into a friendly competition to determine the strongest or tallest bridge. This hands-on challenge offers a playful yet educational approach to introduce engineering concepts.
This activity is more than just a construction project; it's an opportunity to ignite curiosity and develop problem-solving skills in our youngest learners. As they embark on the challenge, preschoolers are prompted to explore various ways of connecting toothpicks and marshmallows, fostering not only creativity but also collaboration among peers.
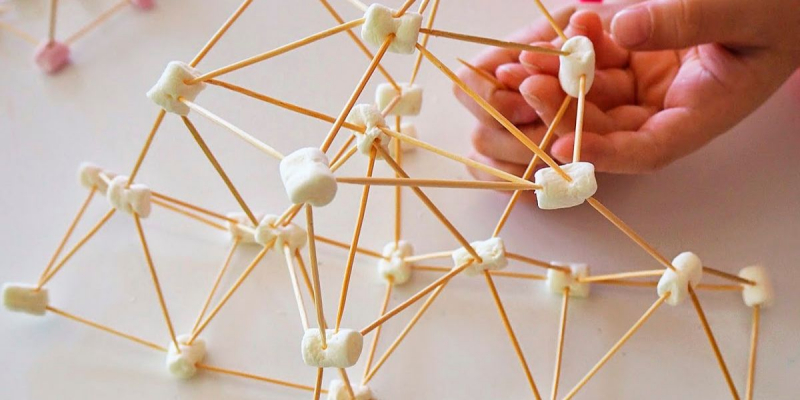
Build a Bridge - Photo via teachingexpertise.com Build a Bridge - Video by Science Classroom via pexels -
Begin the activity by providing each child with a balloon, which serves as the base for their unique planet. Using tape and glue, they can attach different pieces of construction paper to mold mountains, valleys, and imaginative landscapes. This process not only enhances their fine motor skills but also introduces basic concepts of spatial awareness.Once the foundational structure is in place, it's time to infuse their creations with vibrant colors. Invite the preschoolers to choose colors that resonate with the characteristics of their envisioned planets. Whether it's a green and blue globe or a rainbow-hued celestial body, this stage of the activity allows them to express their individuality and creativity.
As the planets take shape, encourage the children to share stories about their unique worlds. What kinds of creatures inhabit their planets? Are there special features or magical elements? This narrative aspect adds an extra layer of imagination and storytelling to the activity, promoting language development and verbal expression.
The crafting of individual planets becomes a collective celebration of creativity, fostering a sense of wonder and self-expression in the young minds. The activity not only engages them in a fun and interactive experience but also lays the foundation for early learning in science, art, and language. Through this imaginative journey, preschoolers can explore their artistic instincts, envision fantastical worlds, and, most importantly, revel in the joy of limitless creativity.
Design Planet - Photo via teachingexpertise.com 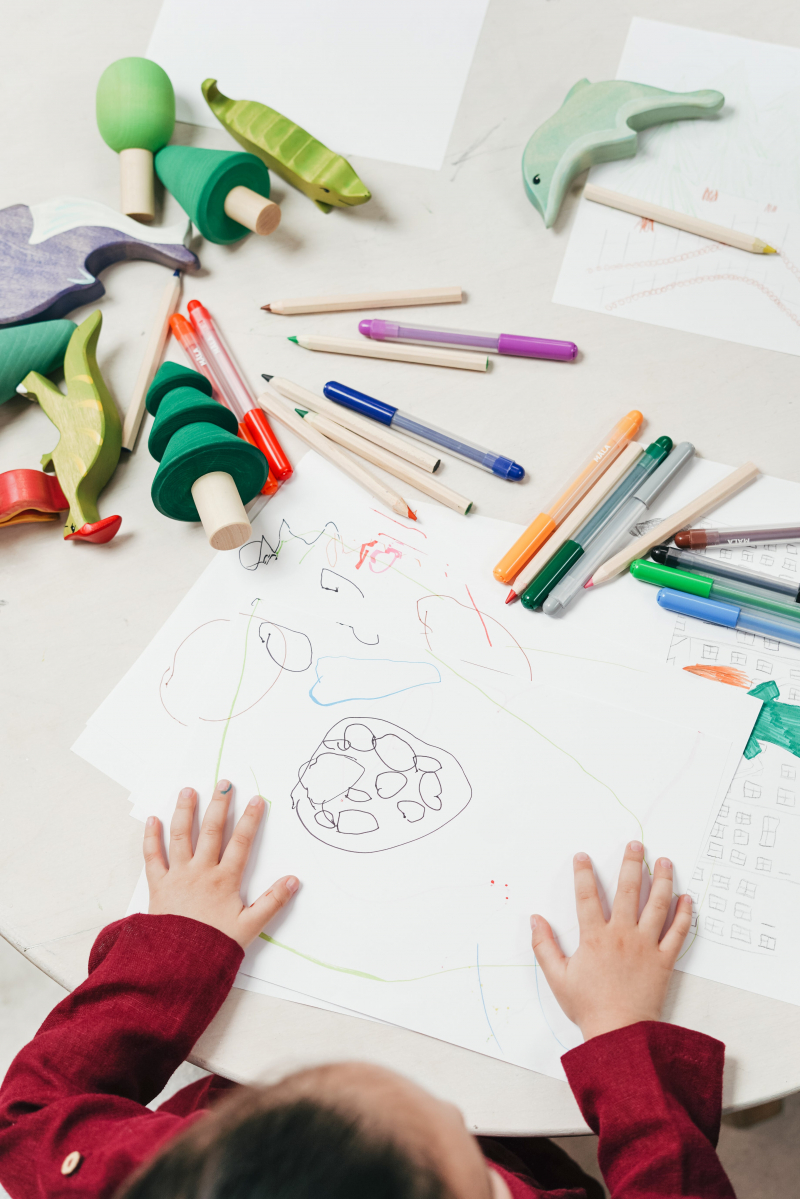
Design Planet - Photo by cottonbro studio via pexels -
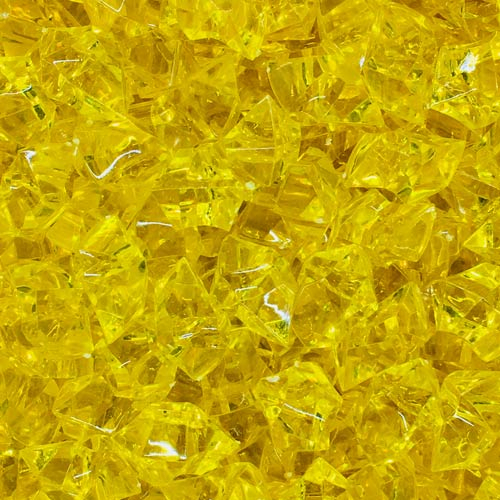
Immerse your students in the mesmerizing world of science with the captivating Magic Mud activity! This intriguing project is poised to capture the imaginations of your class as they embark on the exciting journey of concocting their very own Magic Mud.
The process unfolds as students eagerly mix together the components, creating a substance that not only captivates with its luminosity but also showcases remarkable transformations. Once the Magic Mud is ready, invite the students to delve into the interactive part of the activity. Encourage them to play and experiment with their oozy creation, observing the magical metamorphosis from a solid state while in motion to a liquid consistency when at rest.
This hands-on exploration serves not only as an entertaining class favorite but also as a valuable educational tool. As students engage in the tactile experience of crafting and manipulating Magic Mud, they are not only entertained but also gaining insights into the dynamic nature of certain materials.
The activity seamlessly integrates fun with learning, making science an exciting adventure for students as they witness firsthand the intriguing properties of Magic Mud. By fostering curiosity and hands-on experimentation, this project creates a memorable experience that sparks a love for scientific discovery among your students.
Magic Mud Video by TKOR via Youtube 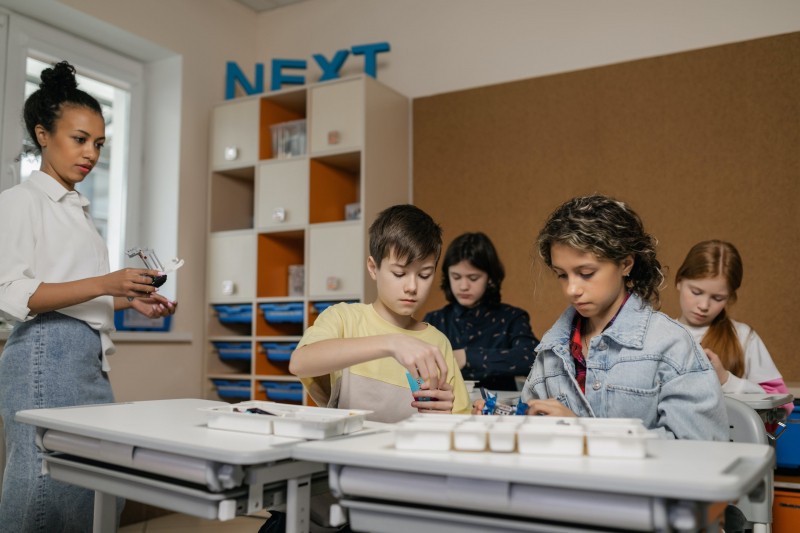
Magic Mud - Photo by Alena Darmel via YouTube -
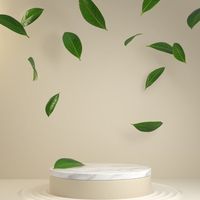
Unveil the fascinating world of plant physiology to your little ones with an interactive activity that sheds light on the remarkable process of photosynthesis. Did you know that leaves have the capacity to breathe? In this enlightening exercise, children will delve into the science behind this natural phenomenon by immersing leaves in water.
The activity kicks off with the simple yet captivating task of placing leaves into water. As they keenly observe, a fascinating transformation takes place, the emergence of tiny air bubbles. This visual spectacle serves as a hands-on introduction to the concept of photosynthesis, the intricate biological process through which plants harness sunlight to convert carbon dioxide into oxygen.
Encourage the children to actively participate in the observation process, fostering curiosity and critical thinking. Prompt them to question why and how these air bubbles appear, leading to an engaging discussion about the vital role plants play in maintaining our planet's oxygen levels.
By making this connection between a basic scientific experiment and the larger environmental concept of photosynthesis, the activity becomes more than just a lesson; it becomes a memorable exploration into the wonders of the natural world. Through this hands-on experience, children not only gain insights into the fundamental science behind plant life but also develop an early appreciation for the intricate processes that sustain life on Earth.
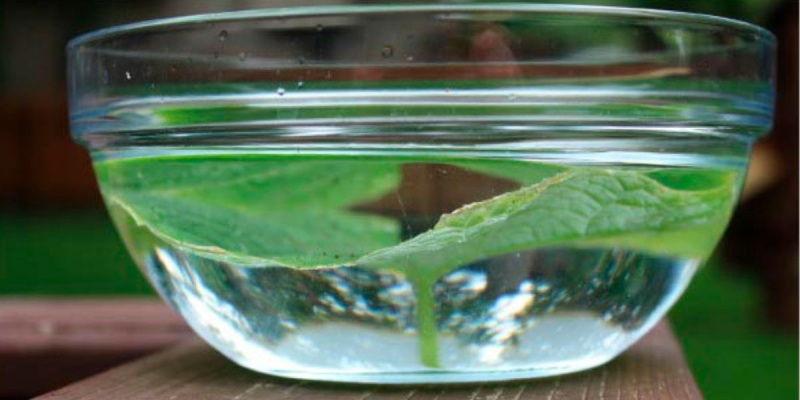
Leaf Breathing - Photo via teachingexpertise.com Leaf Breathing - Video by New York Restoration Project via Youtube -
Begin by creating a safe and controlled environment where the magic unfolds, with a layer of colored water serving as the canvas for the upcoming exploration. The introduction of a lit candle onto this vibrant surface immediately captures the attention and curiosity of the young minds.
As the candle flickers and dances atop the colored water, seize the opportunity to engage the preschoolers' curiosity. Pose questions that encourage them to closely observe the interaction between the flame and the water. Encourage the budding scientists to share their thoughts, theories, and predictions about what might transpire when a jar is placed over the lit candle.
The excitement peaks as the jar is carefully positioned, enveloping the candle. The children eagerly witness the cause-and-effect dynamics at play as the flame responds to the changing environment within the jar. This experiential learning moment not only allows the preschoolers to actively participate in each stage of the scientific method but also sparks a sense of wonder and discovery.
Following the experiment, gather the young scientists for a collaborative discussion. Create a space for them to articulate their observations, share their hypotheses, and reflect on the outcomes. This post-experiment dialogue becomes an invaluable opportunity for the children to communicate their thoughts and engage in collective learning.
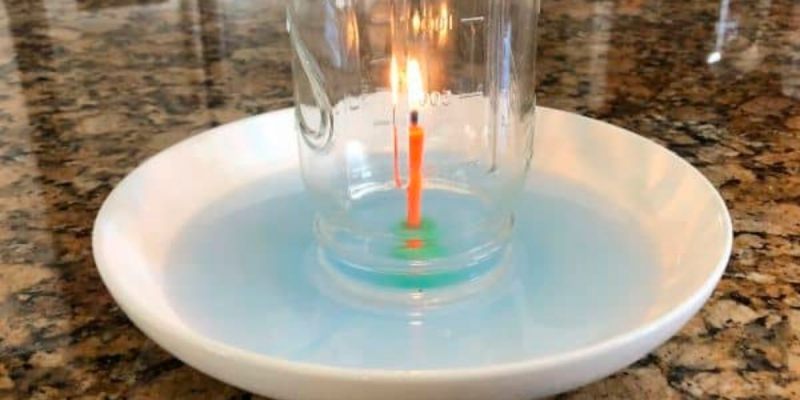
Water Candle Experiment - Photo via teachingexpertise.com Water Candle Experiment - Video by MocomiKids via YouTube -
This engaging endeavor invites children to create their own personalized sensory bottles, adding a tactile and visual dimension to their understanding of seasonal changes and weather patterns.
To initiate this creative journey, prompt the children to select a theme for their sensory bottles. This could range from the vibrant hues of autumn leaves to the calming essence of a winter snowstorm or the refreshing colors of a springtime garden. The theme serves as the guiding inspiration for the crafting process.
Once the themes are chosen, guide the children in the meticulous process of filling their bottles. Encourage them to experiment with various hues of food coloring, mimicking the colors associated with their selected season or weather pattern. Small decorations, such as miniature umbrellas for rain or faux leaves for autumn, can be added to enhance the sensory experience and capture the essence of the chosen theme.
This multi-step activity not only allows for artistic expression but also provides a unique and interactive way for children to comprehend the distinctive characteristics of each season and weather phenomenon. The tactile nature of the sensory bottles engages multiple senses, creating a memorable and holistic learning experience. As the children immerse themselves in the craft, a sense of connection to the natural world is fostered.
The sensory bottles become not just creative expressions but tangible reminders of the diverse beauty associated with each season and weather condition. Through this craft, children not only conclude their lessons with a creative flourish but also leave with a deeper understanding and appreciation for the ever-changing tapestry of the world around them.

Seasons Themed Sensory Bottles - Photo via teachingexpertise.com 
Photo by Polina Tankilevitch via pexels -
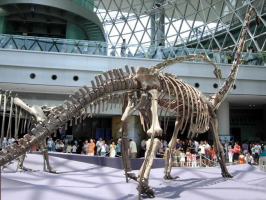
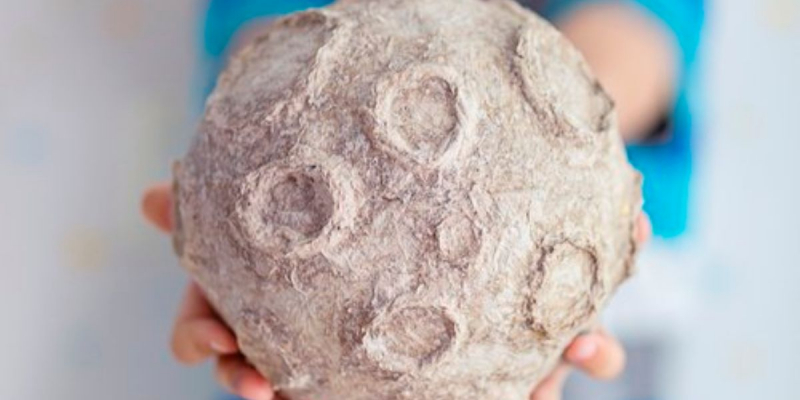
The adventure begins with the preparation of salt dough, a simple yet versatile mixture of flour, salt, and water. This pliable material becomes the canvas for the preschoolers' creativity, setting the stage for the creation of unique and personalized dinosaur fossils.
Once the dinosaur impressions are secured, the next step involves shaping the salt dough around these imprints, carefully crafting fossil-like artifacts. The children's hands-on involvement in this process not only introduces them to the concept of preservation but also enhances their fine motor skills and fosters a sense of imaginative play.
Following this creative phase, the salt dough creations are baked and allowed to cool. The result is a set of hardened fossils, each bearing the distinct mark of the plastic dinosaurs. This tangible outcome adds a layer of authenticity to the project, providing the preschoolers with a tactile connection to the world of paleontology.
The excitement peaks during the subsequent "excavation" phase, where the children use small brushes to carefully uncover their buried dinosaur fossils. This imaginative play not only reinforces the concept of discovery but also transforms the learning experience into an interactive adventure.
For an additional layer of creativity, preschoolers can choose to paint their fossils using acrylic paint. This optional step not only allows for personalization but also encourages artistic expression as the children bring their prehistoric creations to life with vibrant colors.
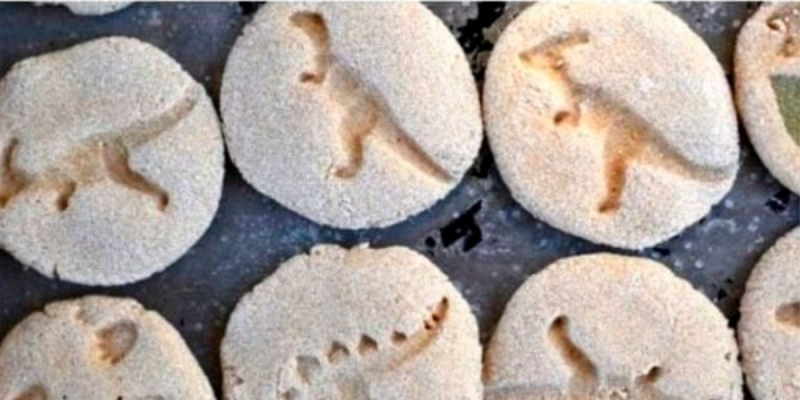
Dinosaur Fossils - Photo via teachingexpertise.com 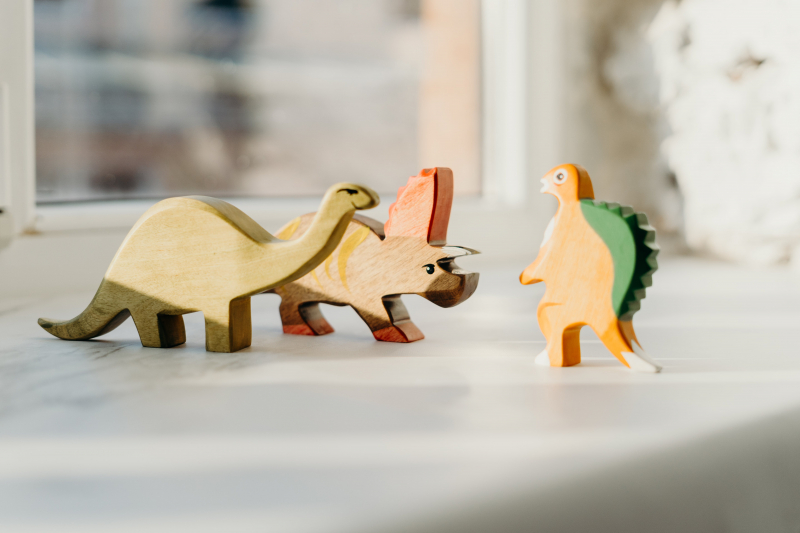
Dinosaur Fossils - Photo by cottonbro studio via pexels -
This is an unique and educational art project by swapping traditional paint for sunscreen in this creative endeavor. Particularly beneficial when paint supplies are low, this activity requires only a few items and, of course, the sun. With sunscreen, a paintbrush, and dark-colored paper, set up the painting station just like any regular art project. Squeeze the sunscreen onto a surface for easy application, and ensure the use of dark-colored paper for optimal results.
Once your child completes their sunscreen painting, take it outside and secure it in the sunlight using rocks at the corners to prevent it from blowing away. Allow the artwork to bask in direct sunlight for a couple of hours. The sunscreen-painted section will preserve its original color, contrasting with the faded hues on the rest of the paper. Notably, the rocks strategically placed at the corners act as sunblocks, showcasing the protective effect of sunscreen.
Upon retrieving the painting from the sun, prompt a discussion with your child. Highlight the visual representation of how sunscreen shields the paper from the sun's impact. Pose the question: if sunscreen can safeguard paper this effectively, can it similarly protect their skin? This innovative project not only serves as a creative outlet but also imparts a tangible understanding of sunscreen's protective qualities, making it a worthwhile and enlightening endeavor for children.
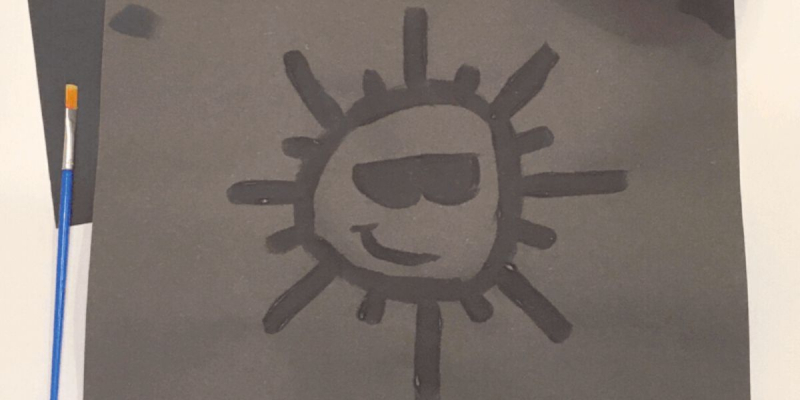
Sunscreen Paintings - Photo by teachingexpertise.com 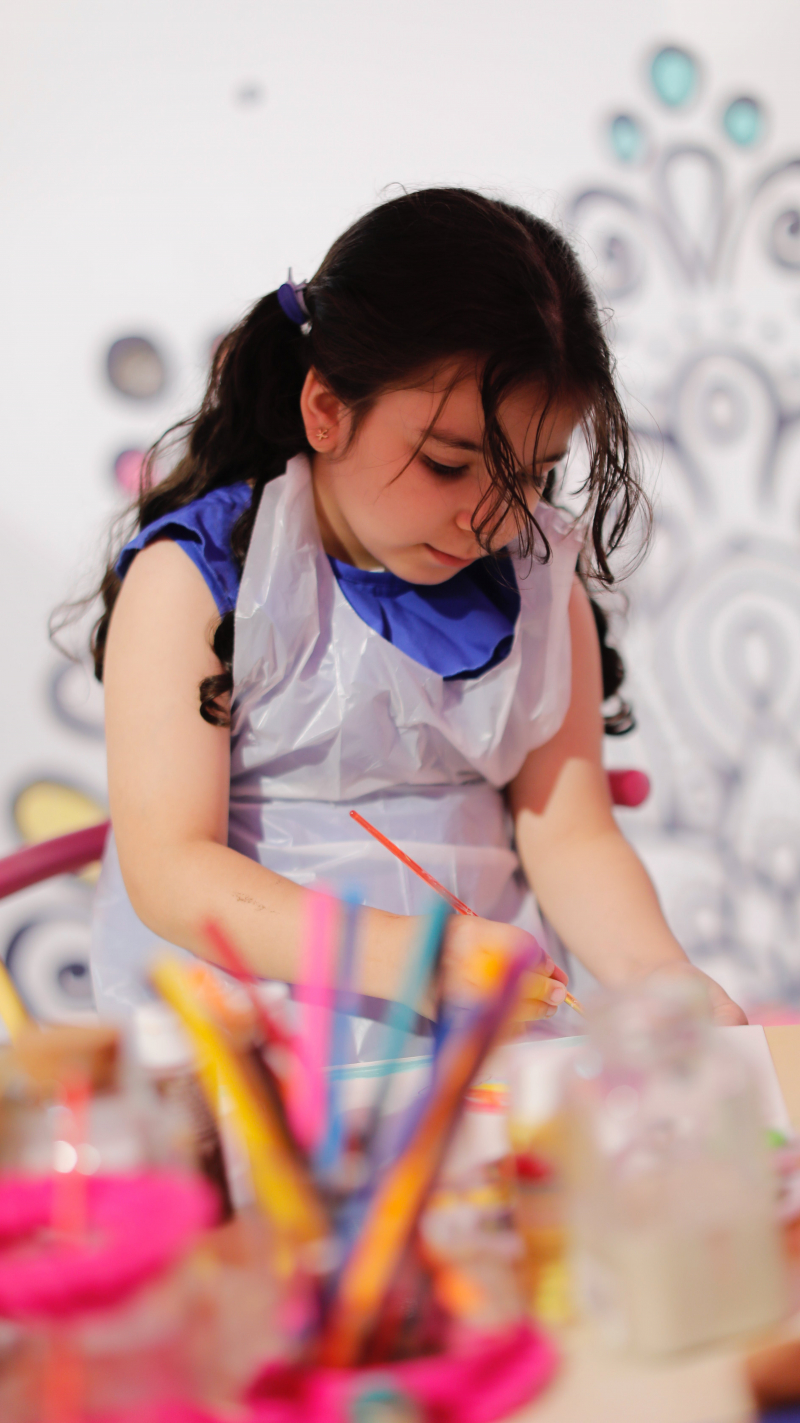
Sunscreen Paintings - Photo by Ashraf khan via pexels -
This engaging project requires minimal materials, including flowers, large ice cube trays, small containers, or muffin tins, providing various options for creativity. To begin, place the chosen flowers into the selected containers, allowing room for customization, whether separating them by type, mixing them up, or categorizing them by color and size.
Once the flowers are arranged, pour water into the containers, ensuring the flowers are gently pushed into the water. After this preparation, freeze the flower-filled containers overnight, allowing the magic to unfold. The next day, carefully extract the flower ice cubes and place them in a tray.
To ease their removal, briefly immerse the bottom of the containers in warm water. Now, it's time for the kids to embark on a sensory adventure. Armed with tools to break or melt the ice, the little explorers can enjoy the tactile experience of discovering frozen flowers within.
During this playtime, children can employ various tools, such as droppers filled with warm water, to melt the ice gradually. The process becomes both entertaining and educational, as the children observe the transformation and learn about the flowers' impact on the water's color. The activity fosters curiosity and experimentation, as the children uncover the captivating science behind the melting ice and the infusion of hues into the water.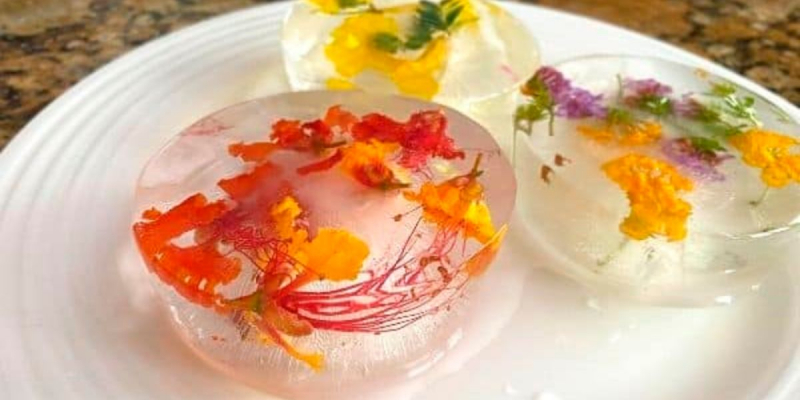
Frozen Flowers - Photo via teachingexpertise.com 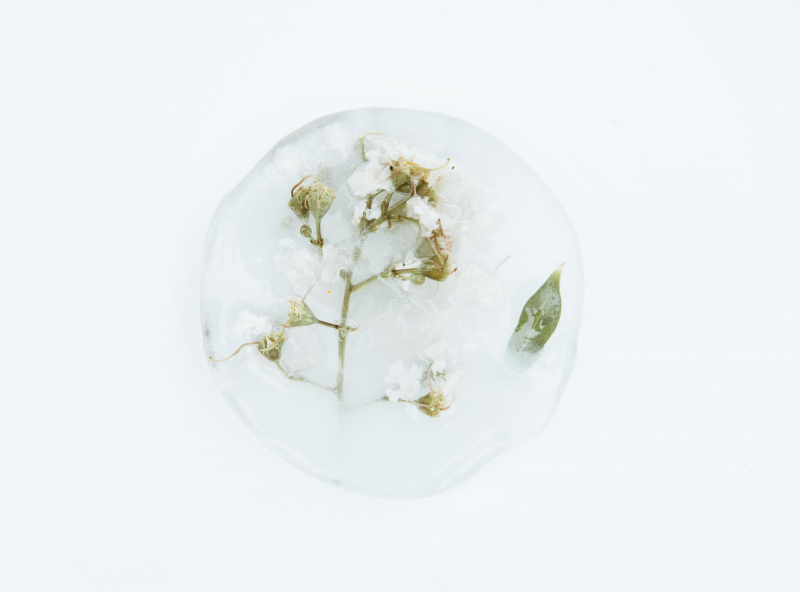
Frozen Flowers - Photo by Evie Shaffer via pexels -
Discover a new and captivating way to engage children in the world of art with the Wax Paper Resist technique. While various resist methods using oil pastels, rubber cement, or a white crayon are familiar, this approach adds a fresh and exciting dimension to the creative process.
Encourage the children to crumple the wax paper, exploring two different techniques: creating a ball or making calculated folds akin to origami. The crumpled wax paper is then sandwiched between two sheets of glossy white paper, with the glossy side facing inwards.
Under close supervision, the children use the iron to slowly move back and forth, revealing a faint waxy pattern transferred from the wax paper. Once ironed, the glossy side faces up in the bin, ready to unleash the magic. With enthusiasm, the children spray watercolors or food coloring over the paper, and the resist pattern from the wax paper begins to emerge.
The result is a beautiful and organic display of patterns that elicits giggles of delight from both children and adults alike. The Wax Paper Resist technique, originally employed for making card backgrounds, showcases the surprising beauty that can be coaxed from a simple kitchen item. This art activity not only produces stunning visuals but also offers an enjoyable and educational experience that sparks creativity and appreciation for the wonders of resist art.
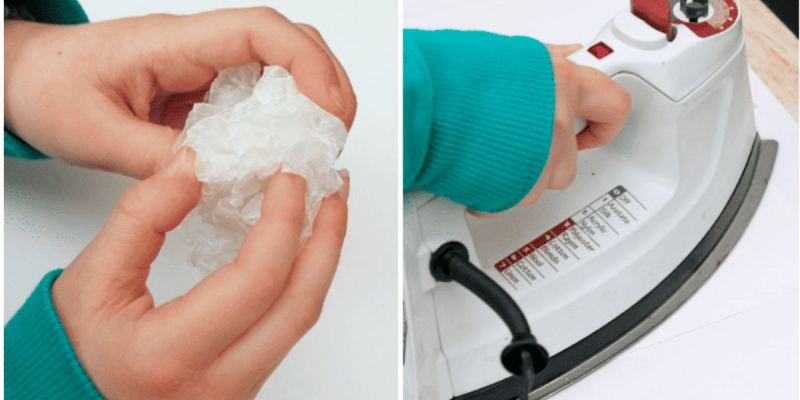
Wax Paper Experiment - Photo via teachingexpertise.com 
Photo by Ron Lach via pexels