Top 13 Best Tips for Cooking with Eggs

Aside from eating plain eggs — because nothing beats the simple stuff — you can prepare eggs with a variety of proteins, vegetables, or starches. For example, ... read more...fire-roasted shakshuka combines the richness of eggs with fire-roasted tomatoes, onions, garlic, and herbs. Egg in a hole is a childhood favorite that consists of a self-contained egg within a piece of sliced bread. Here are some tips for making the most delectable eggs, no matter how you like them cooked.
-
Are you in a hurry to make fried eggs for breakfast? Here's a simple hack to make the cooking process go even faster. Misen Kitchen's TikTok trick uses water to test the heat of a pan. Heat your stainless steel pan for about 90 seconds over medium heat before adding a few tablespoons of water. If the water doesn't do anything or just fizzles, your pan isn't hot enough to keep the eggs from sticking. If the water in the pan moves in a single bubble, your pan is properly heated for cooking.
However, too many bubbles springing up and "dancing" on the stainless steel surface indicates that your pan is too hot and should be cooled before adding your eggs. This trick not only makes your eggs fluffier, but it also makes cleanup much easier — who has time to deal with chunks of egg white on the bottom of a pan?
Use water to see if your stainless steel pan is hot enough 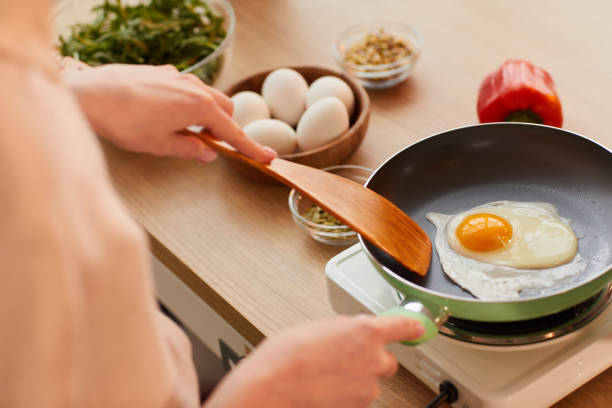
Use water to see if your stainless steel pan is hot enough -
When it comes to cooking, fat and eggs are best friends. The type of fat you use is entirely up to your preferences. According to Help With Cooking, light vegetable oil does not interfere with the flavor of the egg and will not produce bitter notes when heated to a high temperature. Olive and avocado oil are also popular for cooking eggs because they have a slightly nutty flavor that is not overpowering. But who is the favorite? It's a good slab of butter. If you use butter as your fat of choice, allow time for it to melt before adding the egg.
Make sure to add 1 tablespoon of fat per egg you intend to cook. Because of the protective coating on the pan, you won't need to add as much fat when cooking your eggs in a nonstick pan. Nonstick pans are typically easier to clean because the egg just slides right out of the pan.
Use a sufficient amount of fat to prevent sticking 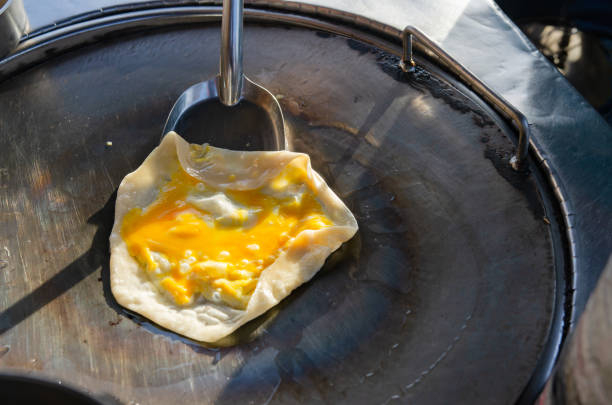
Use a sufficient amount of fat to prevent sticking -
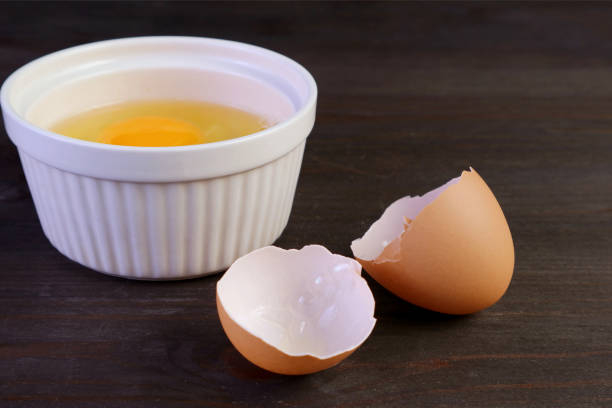
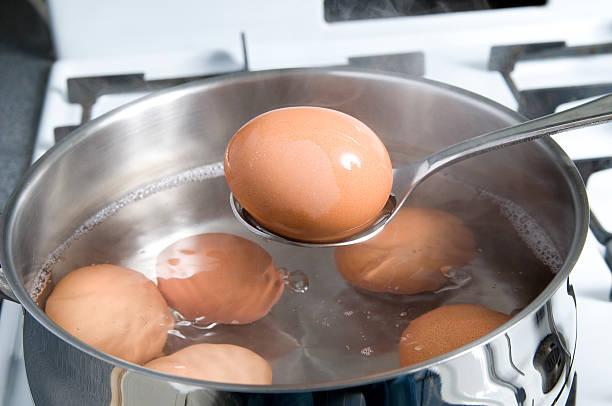
If you hard-boil eggs in water and then try to peel the shells off right away, your efforts will be futile. Chunks of the egg will come off, and your fingers will be unable to reach all of the pieces of eggshell that you require. Allowing your hard-boiled eggs to cool completely is the first step toward easy peeling.
When your eggs are done, place them directly in an ice bath to stop them from cooking any further and to speed up the cooling process. Before peeling or putting the eggs in the refrigerator, place them in an ice water bath for about 15 minutes. Start peeling your hard-boiled eggs at the top of the egg, where the air pocket is. It's also worth noting that older eggs are typically easier to peel because the yolk and whites are firmer, so save those farm-fresh eggs for scrambles or frying.
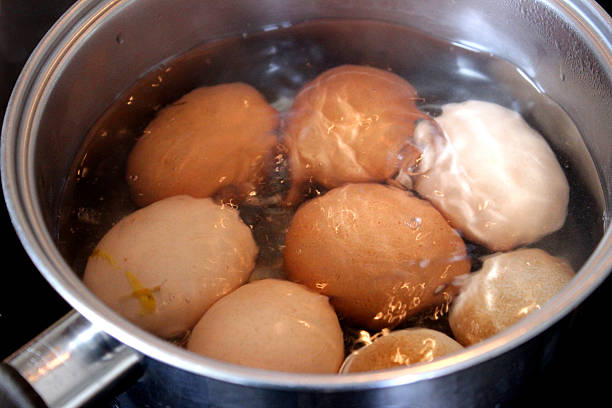
Allow hard-boiled eggs to cool before removing shells 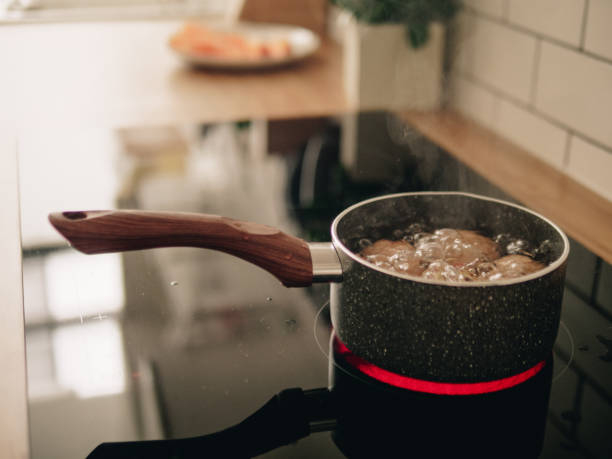
Allow hard-boiled eggs to cool before removing shells -
Whisking eggs before cooking is an important step in breaking down proteins. When you add eggs directly to the heat and scramble them in the pan, the eggs become rubbery. Using a fork to whisk your eggs rather than a balloon whisk (which can trap too much air) traps air inside the eggs, resulting in a fluffy, soft scramble. Even whisking for 15 seconds can make the difference between good and bad scrambled eggs.
While whisking your eggs, you can add your seasonings to the mix. After all, no one wants a peppercorn or a ball of garlic powder on their plate. The best time to season your scrambled eggs is about 15 minutes before you cook them. This window of time may be inconvenient, but it is critical for softening and flavoring the eggs.
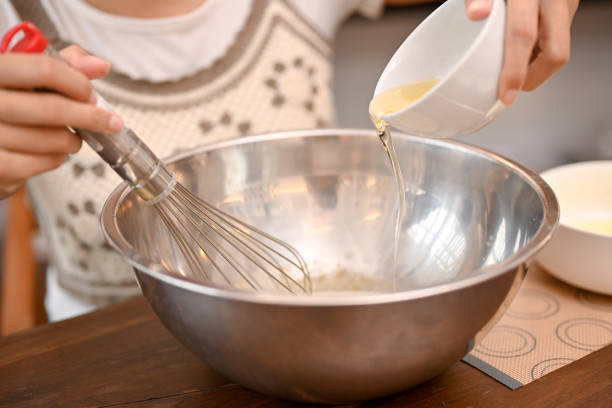
Whisk and season your scrambled eggs prior to adding to the pan 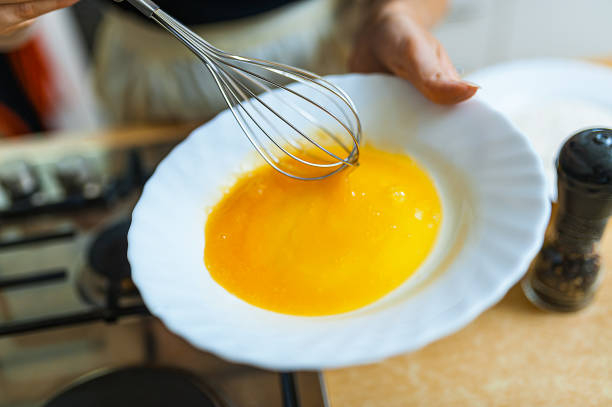
Whisk and season your scrambled eggs prior to adding to the pan -
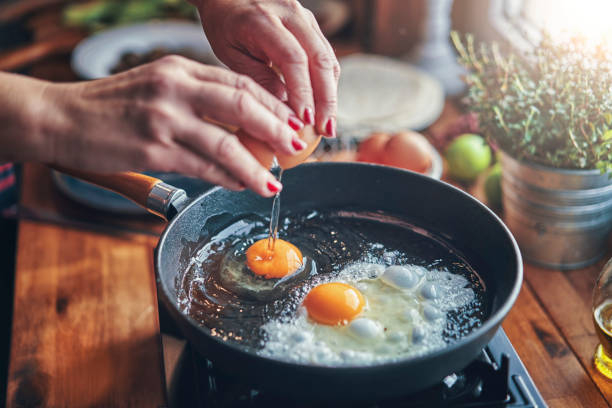
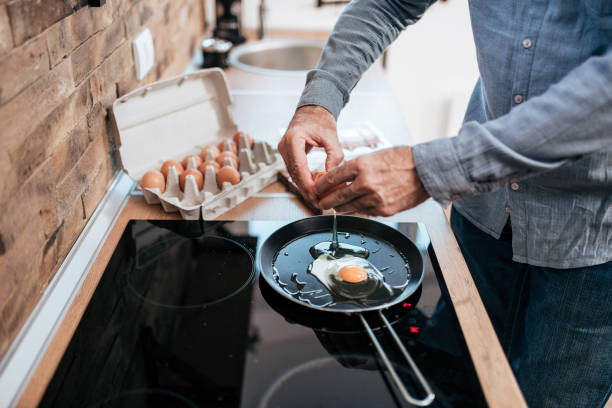
If you grew up watching your parents crack eggs, you probably noticed a lot of cracking on the edge of a mixing bowl or pan. Although this method of cracking eggs has become second nature over time, it is not the most efficient. When you crack an egg on a flat surface, such as a countertop, the membrane holds together, which means that pesky shell pieces that would otherwise drift off into your bowl will remain attached to the shell.
To improve the efficiency of your egg-cracking, always crack eggs into a separate bowl rather than the pan in which you intend to cook the eggs. It will be easier to see and extract an eggshell if it falls into the bowl. Cracking eggs on a separate surface also prevents the transfer of salmonella, a foodborne illness that lives on the exterior of eggshells.
Crack eggs on a flat surface and into a separate bowl 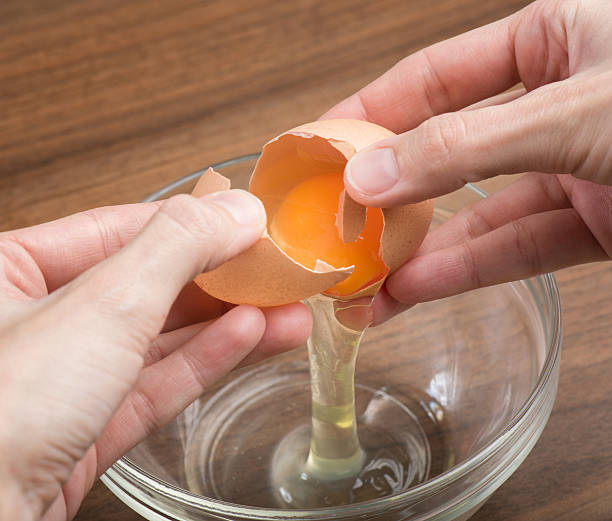
Crack eggs on a flat surface and into a separate bowl -
It's not uncommon to accidentally drop an eggshell piece into your bowl. If you reach into the bowl unprepared, your fingers may act like an arcade claw machine, chasing something but not actually grabbing it. Dip your fingers in water before dunking them in water to remove eggshells from a bowl. Without the addition of moisture, the egg whites will stick to the dry surface of your fingers, making it difficult to grasp the eggshell piece.
The watery film that forms on your fingers after dunking keeps the egg whites from sticking together. Another (but less successful) method is to use another piece of eggshell to rescue the rogue piece. The risk is that the eggshell will splinter or that your fingers will accidentally drop the eggshell into the bowl. You should stay away from this sticky situation by using the wet finger technique.
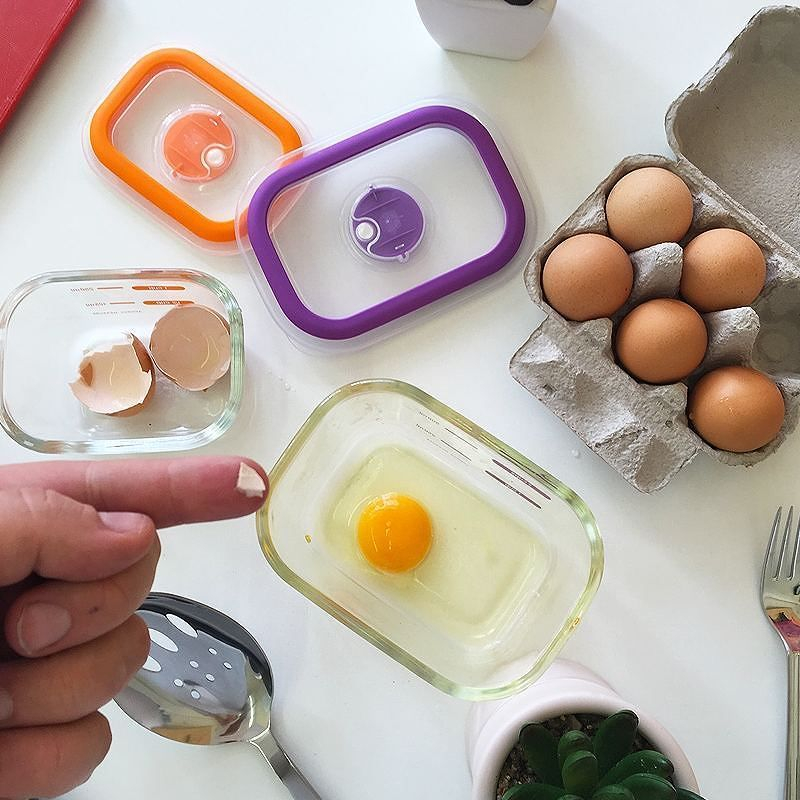
Wet your fingers to remove pesky egg shells Wet your fingers to remove pesky egg shells -
Fish spatulas are one of the most underappreciated kitchen tools available. Ted Allen, the host of Food Network's "Chopped", suggests keeping a fish spatula on hand at all times. Because of its thinness, this spatula can easily pass underneath fish fillets, scoop out lasagna from a dish, and, most importantly, delicately remove fried eggs from a pan without puncturing the yolk.
Use a fish spatula instead of a regular plastic or metal spatula because the shape and curvature make it much easier to maneuver in a small pan. Fish spatulas with wooden, plastic, or metal handles are available. You can hand-wash your fish spatula (which Dalstrong recommends for those with wooden handles) or put it in the dishwasher for quick cleaning and efficient sanitizing.
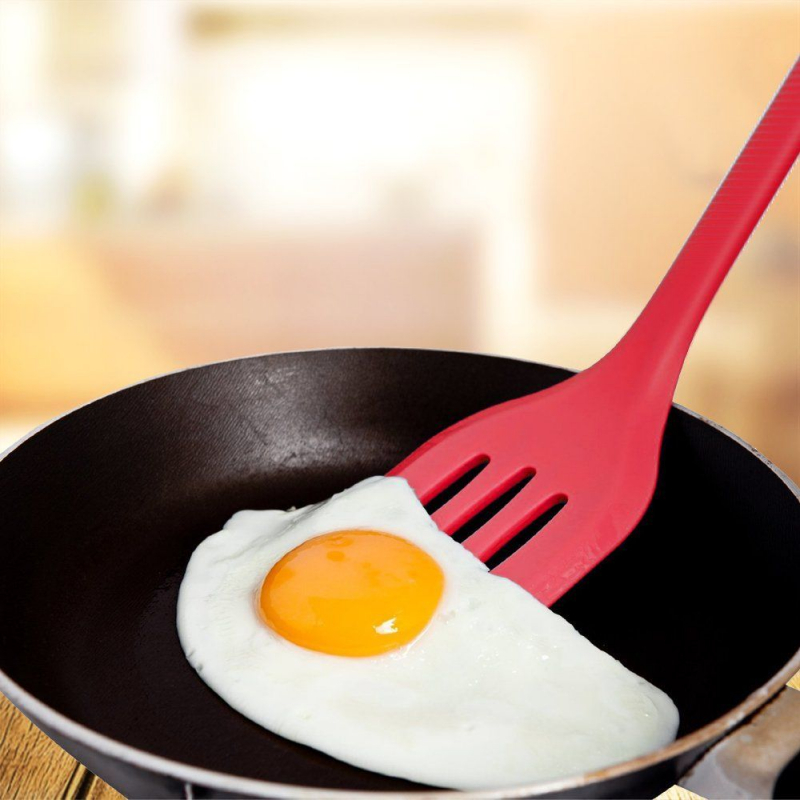
Use a fish spatula to scoop underneath fried eggs 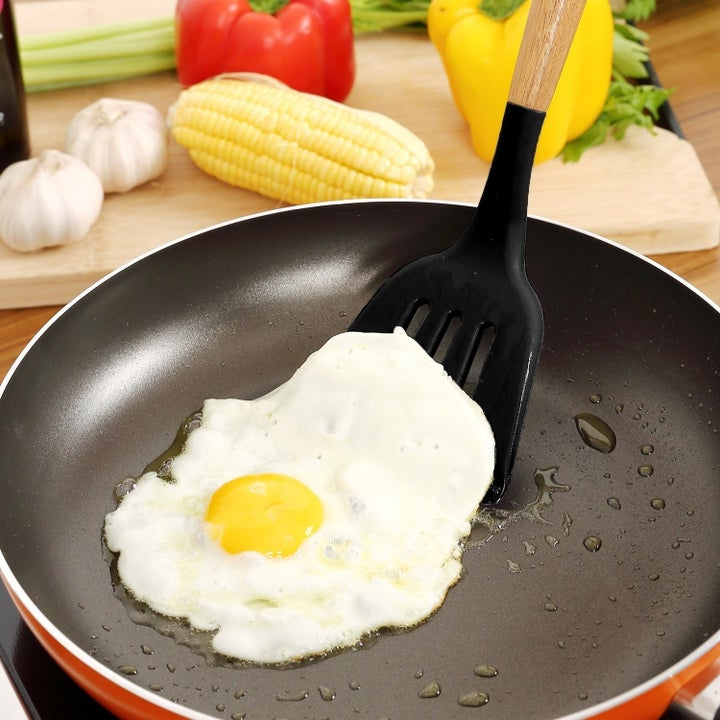
Use a fish spatula to scoop underneath fried eggs -
Poached eggs may appear to be an intermediate or advanced-level egg preparation technique, but you can make them at home with a few simple steps. One of the most common mistakes people make when poaching eggs is dropping the eggs directly from the shell into the pot of boiling water. First and foremost, this is dangerous — you don't want a stray eggshell floating around in your pot. Furthermore, if the egg separates from the yolk with the force of the drop, the result will be watery poached eggs.
Breaking the eggshells in a separate bowl is one of the simplest ways to prepare poached eggs. When the poaching water is boiling, reduce the heat to a quick simmer and swirl the water in a whirlpool shape before adding the eggs. According to the American Egg Board, poached eggs usually cook in about five minutes. If using a poaching mold, cook the eggs for six to nine minutes, or until the whites are set and the yolks are firm.
Never drop poached eggs from the shell into boiling water 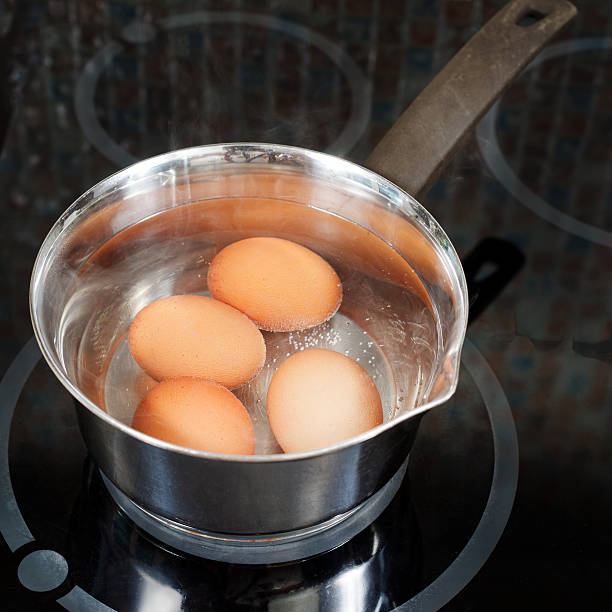
Never drop poached eggs from the shell into boiling water -
It seems reasonable to be concerned that your eggs will split when added to the poaching liquid. Fortunately, it's one that can be avoided by changing which ingredient goes into which. Instead of dropping the eggs into the water, place them in a bowl with the poaching liquid. Before stirring and circulating the eggs in the pot, the Food Network suggests cracking them into distilled white vinegar. Vinegar facilitates the mixing of whites.
Then, fill the pot with hot water from a teakettle until the eggs are submerged by about 2 inches. The eggs will need to be covered for about five minutes before the temperature is brought up to a boil and immediately turned off. The eggs can then be removed with a slotted spoon. They should release a solid white and runny interior. Allow the eggs to simmer for a few minutes longer for a firmer egg.

Instead of adding eggs to the poaching water, add water to the eggs Instead of adding eggs to the poaching water, add water to the eggs -
If you're pressed for time while cooking eggs, your first instinct will be to rush and crank up the heat. However, this will scald and ruin your eggs. Keeping the heat low and cooking slowly will keep the moisture in the eggs from drying out. This unbreakable rule applies to all types of eggs, including scrambled, fried, and sunny-side-up.
You should never fry eggs over high heat because the white of the egg will cook because it is so thin and close to the heat. While the yolk will remain soft, the white will have an unappealing, cracker-like texture. Cook your eggs over medium heat at the highest setting and take your time. Even if it takes up to 20 minutes to prepare a simple plate of eggs, the results will be far more satisfying.
Keep the heat relatively low when cooking eggs 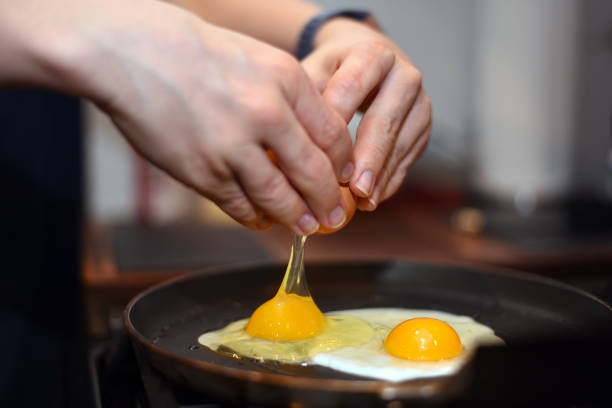
Keep the heat relatively low when cooking eggs -
A cast iron pan is a must-have for any home cook. While you can use your cast iron to bake giant cookies, broil steak, and cook fish, it's also one of the best pan options for making a frittata because it's oven safe. Frittatas are basically quiches without the pie crust. The ideal frittata is soft and flavored with various kinds of cheese, meats, and vegetables.
Because there are no wooden or plastic pieces to melt, the cast iron skillet is ideal for making a frittata. If you're using a cast iron pan, make sure it's well-seasoned before adding the eggs. Properly seasoned cast iron pans allow the edges to cook perfectly and easily slide out of the pan. According to The Petite Cook, the Italian method of making a frittata involves cooking eggs separately from the pan in which the eggs are eventually baked and finished. If that sounds like too much work, our method of making a frittata in a cast iron pan is much simpler and just as flavorful.
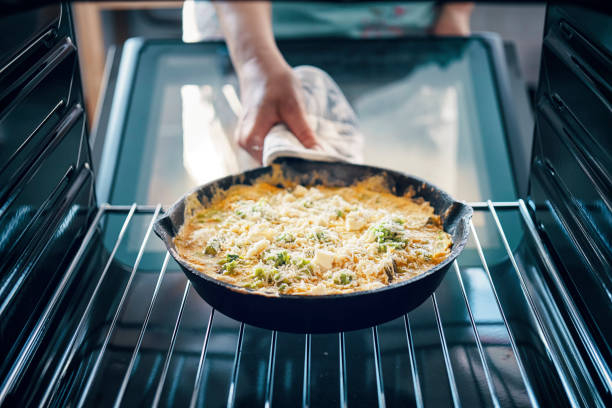
Bake your frittata in a cast iron pan 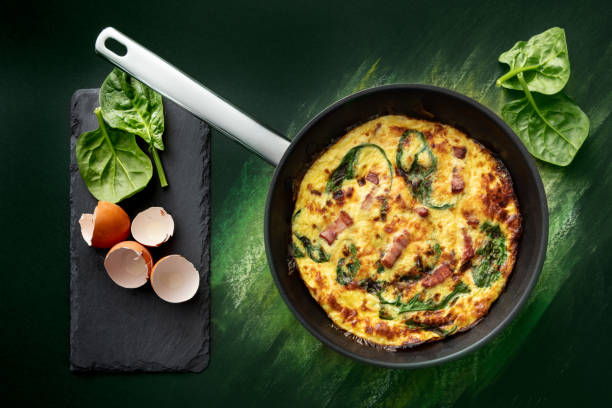
Bake your frittata in a cast iron pan -
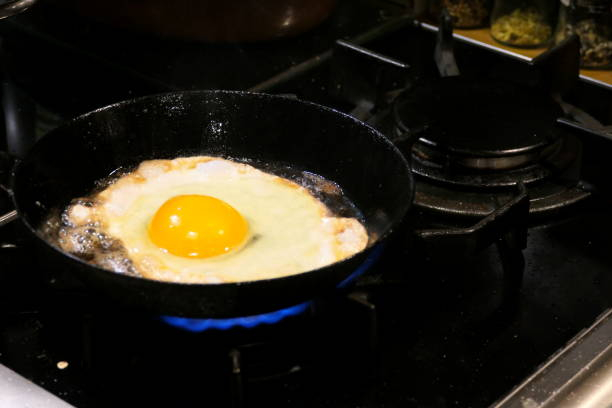
The ideal fried egg is crispy on the outside and soft on the inside. One of the best ways to get a truly crispy fried egg is to baste it with oil as it cooks. The trick is to heat the oil in a pan, add the egg, and then tilt the pan to concentrate the oil in one area of the pan. While the eggs are cooking, brush the oil over their tops.
If you're working with butter, reduce the temperature to keep it from burning. For a more flavorful fried egg, use infused and aromatic flavors in your butter. After the egg has finished cooking, blot it with a paper towel to remove any excess oil. But what about the amount of flavor infused into the eggs as a result of the fat? You should simply keep it on.
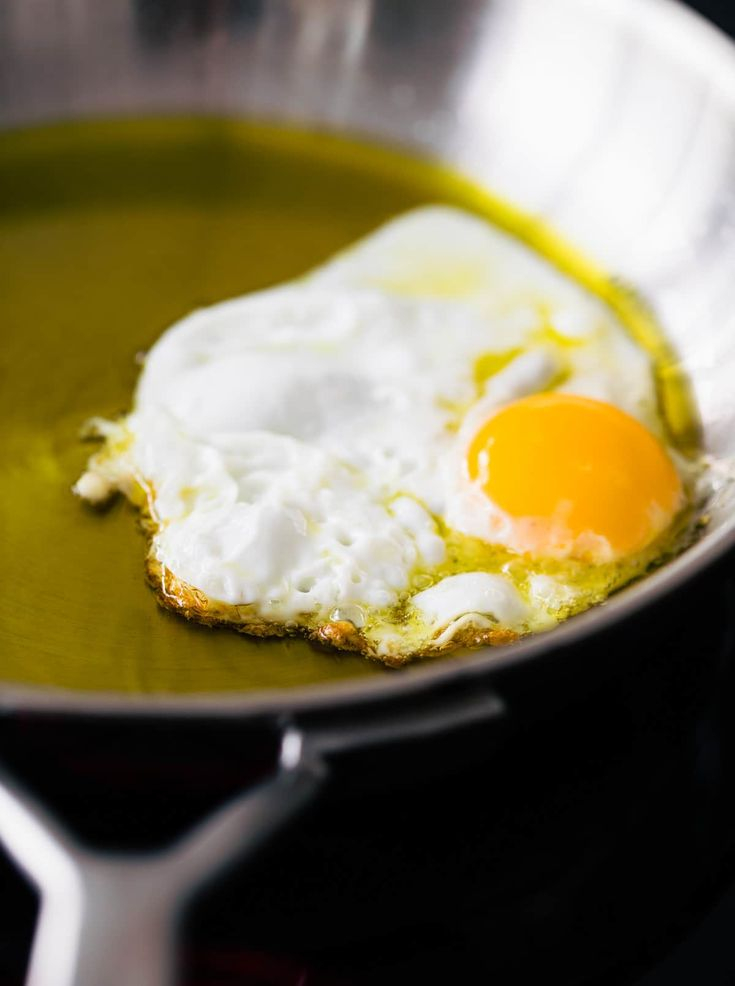
Baste your fried eggs in oil for optimal flavor 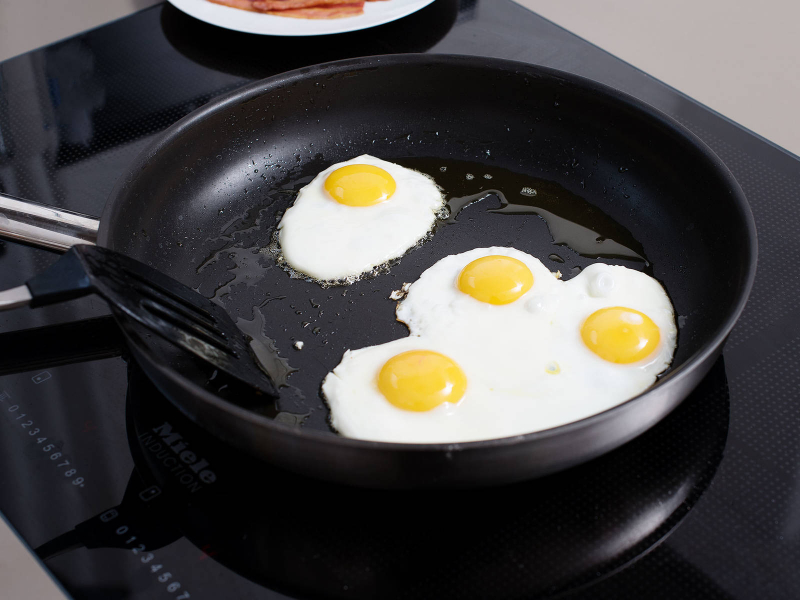
Baste your fried eggs in oil for optimal flavor -
For those who are unfamiliar with sunny-side-up eggs, this soft, delicious preparation includes a firm white and a soft, buttery yolk on top. The most difficult part of making sunny-side-up eggs is keeping the egg yolk from becoming overcooked while keeping the egg whites firm. Setting the perfect yolk and white can be especially difficult from a scientific standpoint because the egg whites are fully cooked at 180 degrees while the yolk is firm at 158 degrees.
Instead of crossing your fingers and hoping for perfect yolks and whites, using a lid to trap the steam in the skillet is a much safer — and easier — option. The lid steams the egg from both the top and bottom, completely cooking all sides. When keeping an eye on your eggs, try to slightly undercook the egg, turn off the heat, and keep the lid on the eggs to steam the rest of the way.
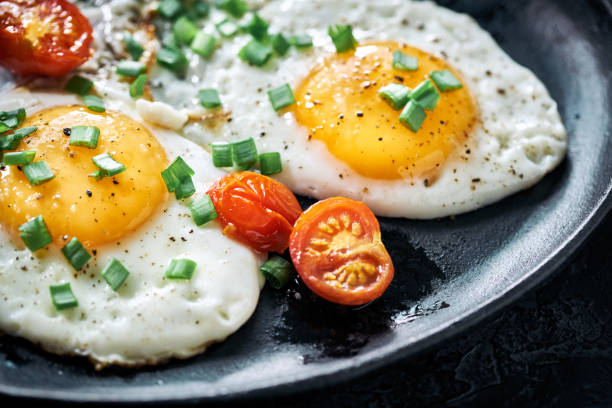
Cook sunny-side-up eggs in a covered pan 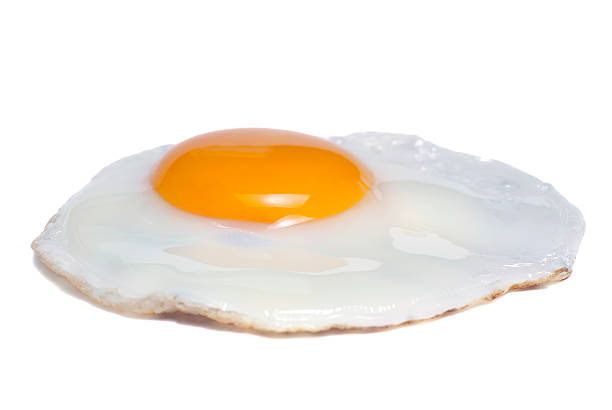
Cook sunny-side-up eggs in a covered pan