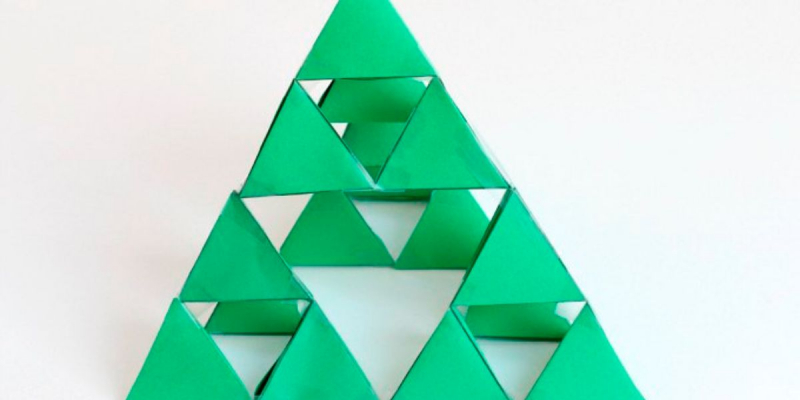
3D Sierpinski Tree
Tree is both creative and educational, and the best part is, you don't need to be a math expert to dive into the fun! With just a few materials, colorful papers, scissors, and glue, we can embark on this exciting project.
To begin, cut out a large equilateral triangle from your chosen colored paper, this serves as the base of our Sierpinski Tree. Now, from this large triangle, cut out three smaller equilateral triangles of the same size. These smaller triangles are the initial branches of our tree. Glue these smaller triangles onto the larger one, forming the first layer of our 3D Sierpinski Tree.
Here comes the intriguing part of the process, the repetition of the Sierpinski pattern. From each of the smaller triangles, cut out three even smaller triangles, mirroring the initial pattern. Glue these tiny triangles onto their respective larger triangles. This process can be repeated as many times as desired, creating layers upon layers of intricate geometric patterns.
Once our 3D Sierpinski Tree is standing tall, the artistic touch comes into play. Grab markers, glitter, or any decorative items you fancy to add a personal and vibrant flair to your creation. This moment of decorating not only adds a delightful aesthetic but also reinforces the joy of combining math and creativity.


