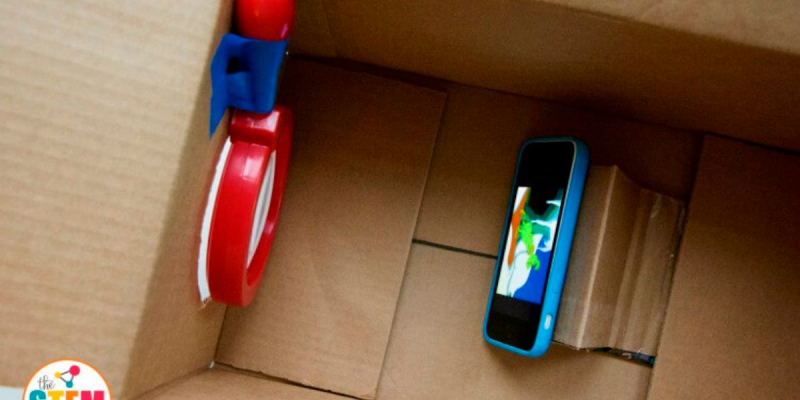
Smartphone Projector
Begin this creative Smartphone Projector experiment by selecting a cardboard box, perhaps one that once held shoes, and carefully cut a hole in it that is big enough to fit the magnifying glass. The magnifying glass plays a crucial role as our special lens in this homemade projector.
Now, position the magnifying glass in the hole, ensuring it sits securely. Take your smartphone and place it inside the box, directing the screen downward towards the magnifying glass. To keep things steady, use tape or glue to secure the smartphone in place. This setup is what will bring our projector to life!
Next, fine-tune the focus by moving the smartphone back and forth until the displayed image becomes clear when projected onto a wall. For an even more captivating experience, dim the lights in the room. Now comes the exciting part, play a video or showcase pictures on your smartphone, and witness the magic unfold as they are magically projected onto the wall.
This ingenious DIY Smartphone Projector not only brings joy and entertainment but also serves as a playful lesson in optics. It allows us to explore how lenses and light work together to magnify images. The hands-on aspect of this project makes learning about these scientific principles fun and engaging. So, let's revel in the wonder of our homemade projector and discover the fascinating world of light and lenses!


