How to Add New Software Shortcuts to the Context Menu

To streamline your desktop area and avoid clutter from numerous software shortcuts, the context menu serves as a convenient space for organizing them. Rather than manually editing the Windows registry, WinBubble offers a seamless method for adding multiple shortcuts to various context menus. Here's how you can add program shortcuts to the right-click menu on your desktop in Windows:
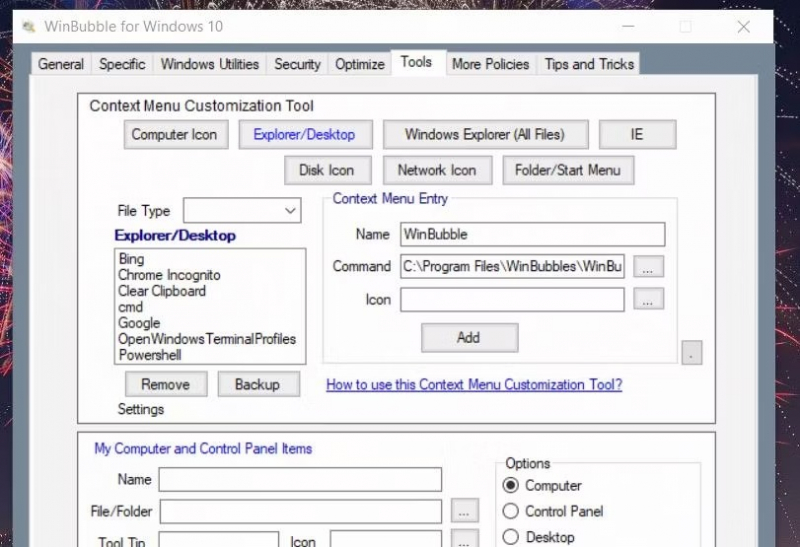
- Begin by accessing the Tools tab within WinBubble and navigate to the Explorer/Desktop option.
- Click the ellipses button located in the Command box and choose the desired software to add to the menu. Once selected, click the Open option.
- Input the title of the software in the Name box and proceed by clicking the Add button. Confirm the action by selecting OK when prompted.
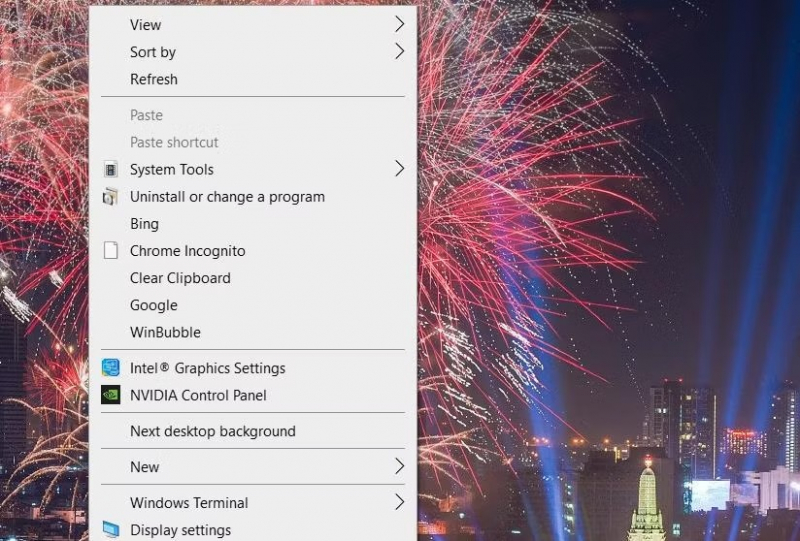
Upon completion of these steps, you can right-click on the desktop (or select "Show more options" in Windows 11) to view the context menu. There, you will find the shortcut for launching the software you added. Simply click on the shortcut to initiate the program.
If you wish to remove any shortcuts from the context menu, return to the Explorer/Desktop box within WinBubble's Tools tab. Select the shortcut you want to remove and click on the Remove option to confirm deletion.