Enable Automatic Time in Windows Setting

To enable automatic time synchronization on your Windows computer, follow these steps for accurate time syncing:
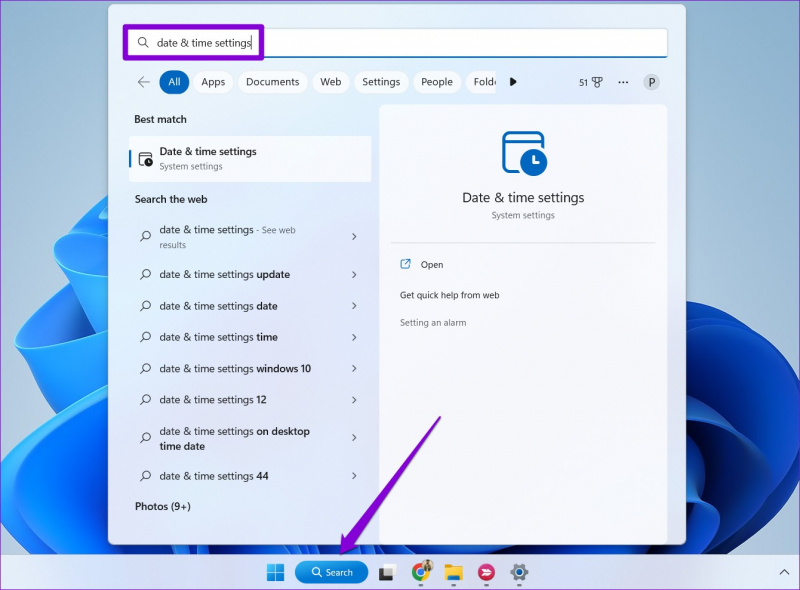
Step 1: Open the Settings Menu
- Click on the Start button and choose the Settings option on your Windows computer.
Step 2: Access the Date & Time Settings
- From the Windows Settings menu, select the "Time & Language" category. In the left-hand sidebar, click on "Date & Time" to access the date and time settings.
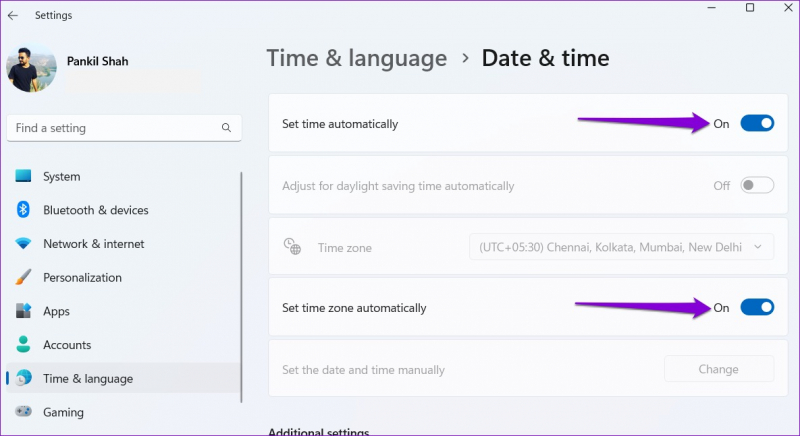
Step 3: Enable Automatic Time Synchronization
- In the "Date & Time" settings, toggle the "Set time automatically" button to the ON position. Windows will then automatically sync the time with the Microsoft Time server.
Step 4: Adjust the Time Zone and Format
- To change the time zone, click on the "Change" button under the Time Zone section. Select your desired time zone from the drop-down menu. Additionally, you can customize the time format to a 12-hour or 24-hour clock.
Step 5: Verify and Update Date & Time
- Go back to the "Date & Time" screen and check if the time is now displaying correctly. If not, click on the "Sync now" button to manually sync the time.
Enabling automatic time synchronization, selecting the correct time zone, and adjusting the date and time formats will ensure your computer's clock is accurate and up-to-date. Take control of your computer clock and enjoy accurate timekeeping on your Windows device!