Using Mac (Finder Method)

1. To open a new Finder window on your Mac, simply click on the Finder icon in the Dock. This will launch a Finder window. From there, you can navigate to the specific location where your PDF files are stored, in order to proceed with the merging process.
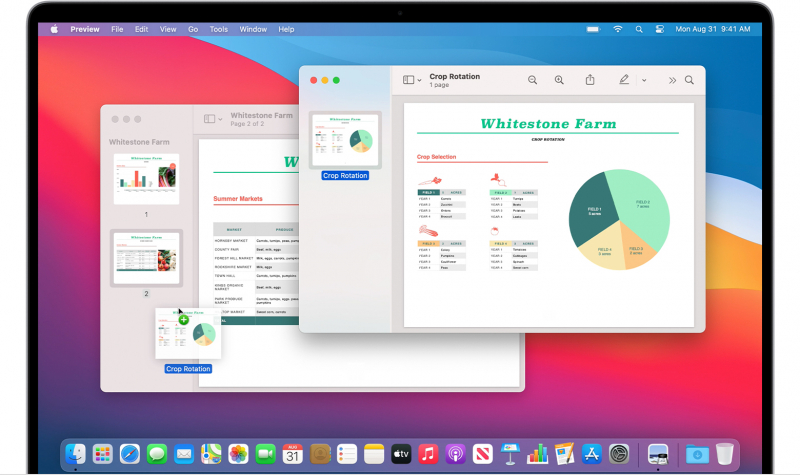
2. To switch to Gallery view in Finder, you can do the following:
- Open the Finder window by clicking on the Finder icon in the Dock.
- At the top of the Finder window, you'll see a tab that resembles a rectangle with a row of squares beneath it.
- Click on that tab to switch to Gallery view, which displays items as larger thumbnails with additional information.
3. To merge PDFs, perform a command-click on the desired PDFs. While doing so, ensure that the command key is held down. Choose the PDF files in the sequence you prefer for their arrangement in the merged PDF.
4. After you have chosen two or more PDF files, you will notice a button labeled "Create PDF" in the right panel. Click on this button to initiate the merging process for your selected files. The resulting PDF will be automatically saved to your Desktop.
- You can also select the files you want to merge in List view, then control-click them and select Quick Actions > Create PDF.