Top 5 Best Ways to Install an Internal Sound Card on Your Computer

Sound plays a significant role in entertainment, relaxation, and enhancing the digital experience. If you want to improve the sound quality and capabilities of ... read more...your computer, installing a sound card is the ideal solution. A sound card enables your computer to decode and transmit audio, making it an essential component. Integrating the motherboard with a dedicated sound card can significantly enhance the sound quality of your computer.
-
Installing the audio won't require installing apps or going beyond the motherboard; these steps are simple and gentle for players.
The steps you need to take are as follows:
- First, what you need to do is turn off the computer and unplug all the plugs from the power outlet to ensure safety during the process without any dangerous errors.
- At the same time, disconnect all connections including the power cable, HDMI display, keyboard, mouse, and any other peripherals connected to your PC tower.
- Download and open the necessary driver for the sound card.
- Open your computer and place your PC tower sideways, face up on your desk.
- Open the side panel by removing the chassis mounting screws. (Note: that you are free to use any suitable tool to remove screws)
- Once you've unscrewed the screws, grab the side panel and gently slide it out of the frame of the PC tower.
- Finally, you'll be able to see the internals of your computer.
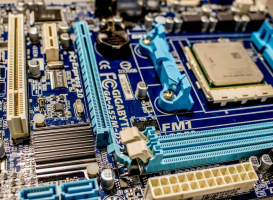
After you have seen the internal parts of the computer, you should review and check the PCIe slots and the PCIe shield before proceeding to remove the PCIe shield.
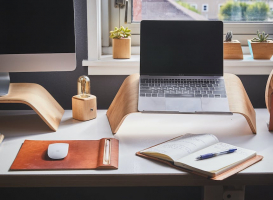
Image by Pixabay via pexels.com 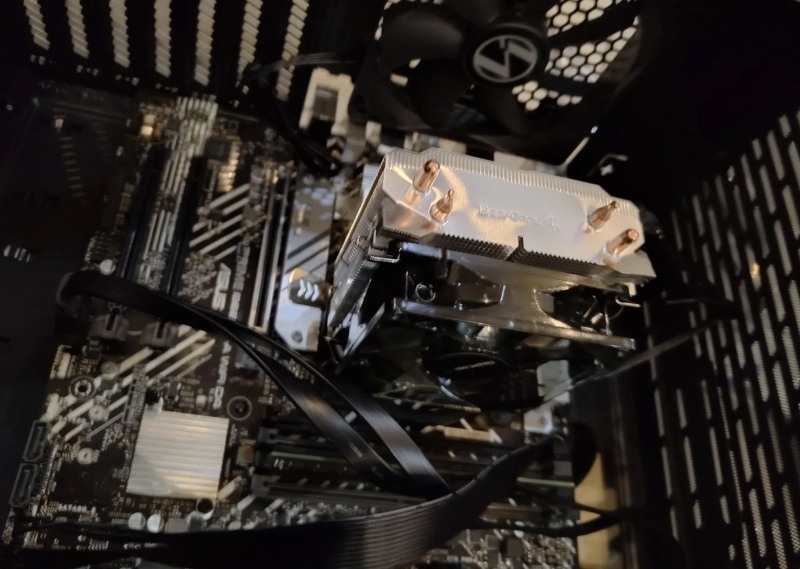
Open the Side Panel -
After completing step 1 and viewing the internal components of the side panel, proceed to determine the exact location of the PCIe and remove the PCIe shield.
The steps are performed in the following order:
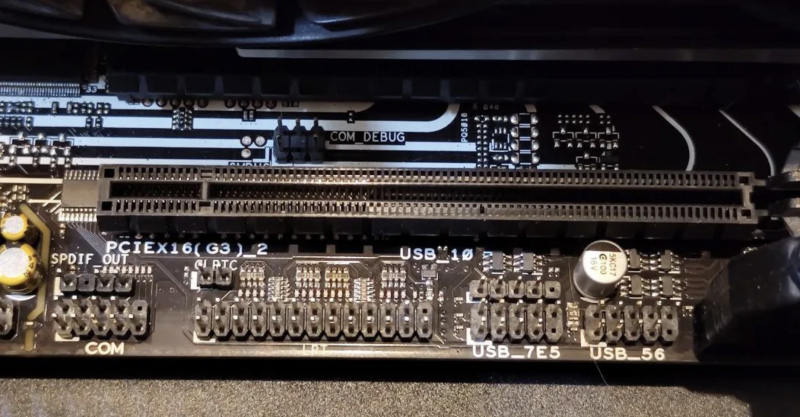
- Observe and determine the exact PCIe slot where you will install the sound card on the motherboard.
- Check the parameters on the motherboard and the PCIe slot can be integrated similarly to the RAM and located perpendicular to the RAM slots on the motherboard.
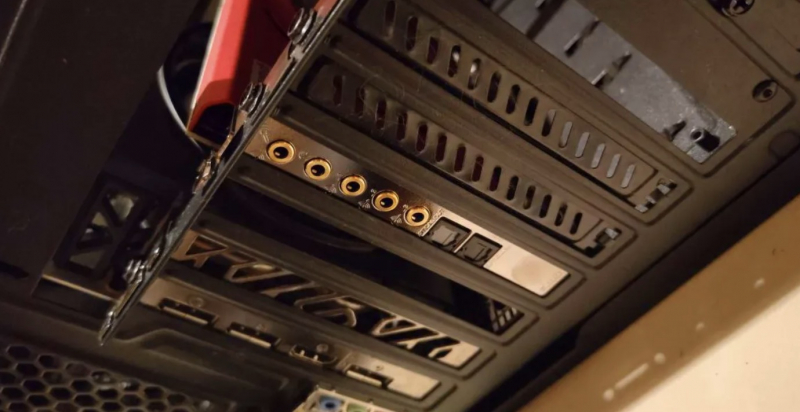
- The sound card will come with a panel that will protrude outside the PC tower.
- Remove PCLe before installing the sound card.
- Be careful when hovering your sound card over the PCIe slot to get a picture of where the panel is and find the PCIe shield you need to remove and find additional screws to secure the PCIe shield in place.
Note : Do not tighten the screws. The sound card will anchor itself to the chassis using the same screw holes.
Locate the PCIe Slot 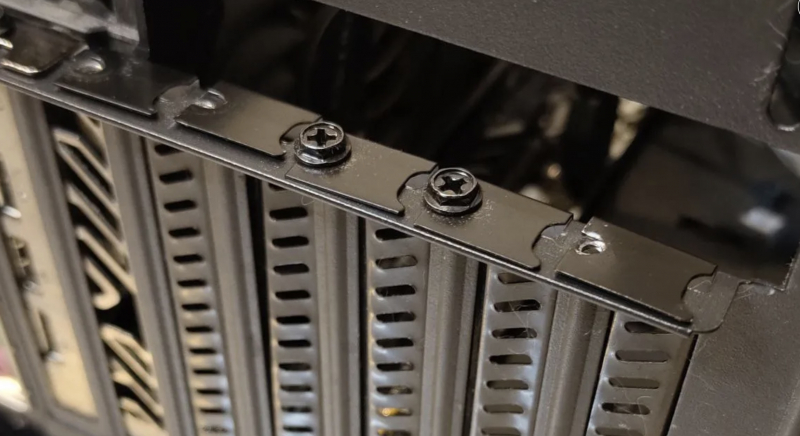
Remove the PCIe Shield -
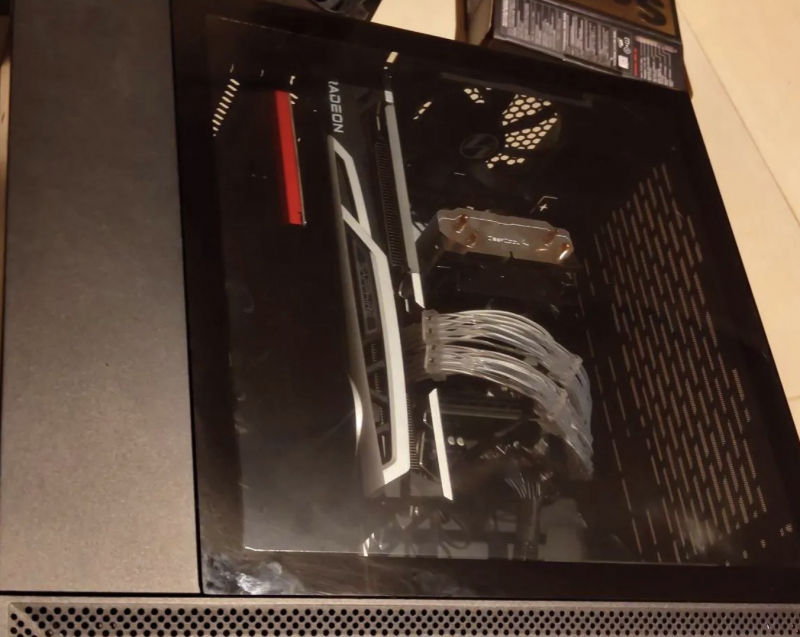
After you have removed the PCIe shield, start installing the sound card. Follow these steps:
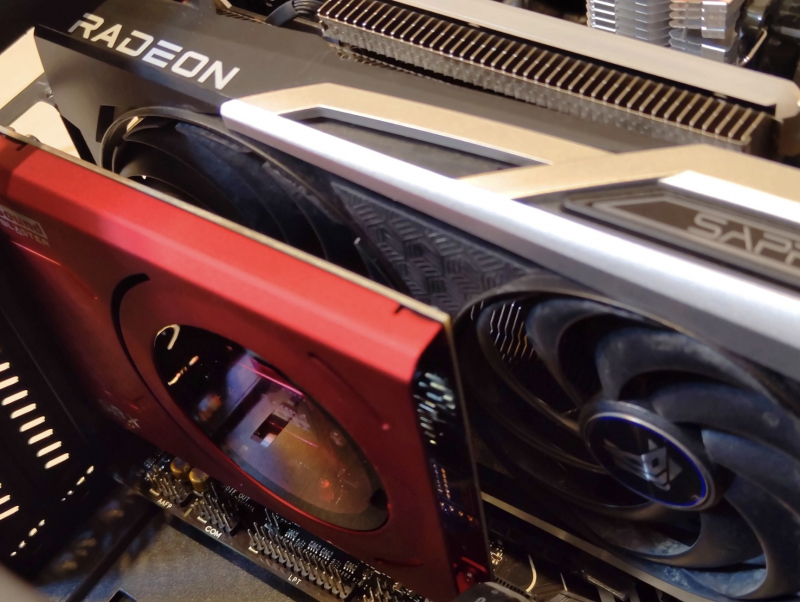
- To install successfully, you need to match the sound card with the PCIe slot. Make sure the angle is correct.
- The sound card's gold connectors should face the motherboard.
- The external control panel should face the PC tower's rear panel.
- Open the locked PCIe slot before installing the expansion card. The slot will automatically lock and snap into place.
- To ensure a secure connection, I recommend checking the alignment and gently pressing the sound card into the PCIe slot until you hear a click.
Once the Sound Card installation is finished you also have a dedicated internal sound card. For added safety, double-check your connection settings to make sure they are truly error-free.
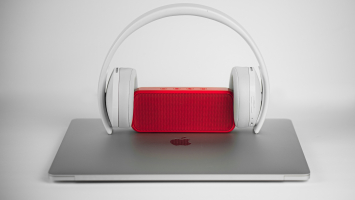
Install the Sound Card 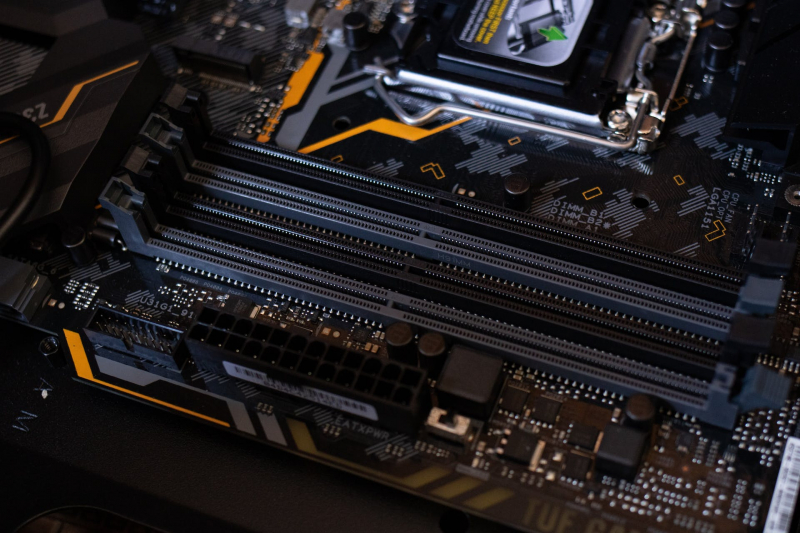
Image by Athena via pexels,com -
To create stability when installing the sound card, we also need to screw it into the chassis to increase anchor strength.
To mount the sound card, follow these steps:
- Strengthen the anchor by screwing it to the chassis.
- Screw the sound card to the chassis using a screw and the screw hole that holds the PCIe shield in place on the panel.
- Finally, pull gently sound card to ensure it is securely attached.
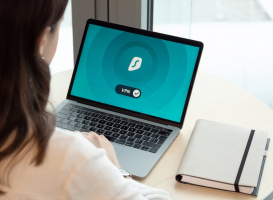
Mount the Sound Card 
Image by RF._.studio via pexels.com -
The process of installing the sound card is now complete. You can proceed with reassembling your PC tower.
Please follow these steps:
- Start by sliding the side panel back into its original position, making sure the tower is properly aligned.
- Then, connect your peripherals and power source.
- Once done, try starting your computer and test your new sound card. To maximize the performance of your device, you can install the audio drivers yourself.
After installing the internal sound card, enjoy your favorite sounds on your computer.
Install Side Panel and Connect Peripherals 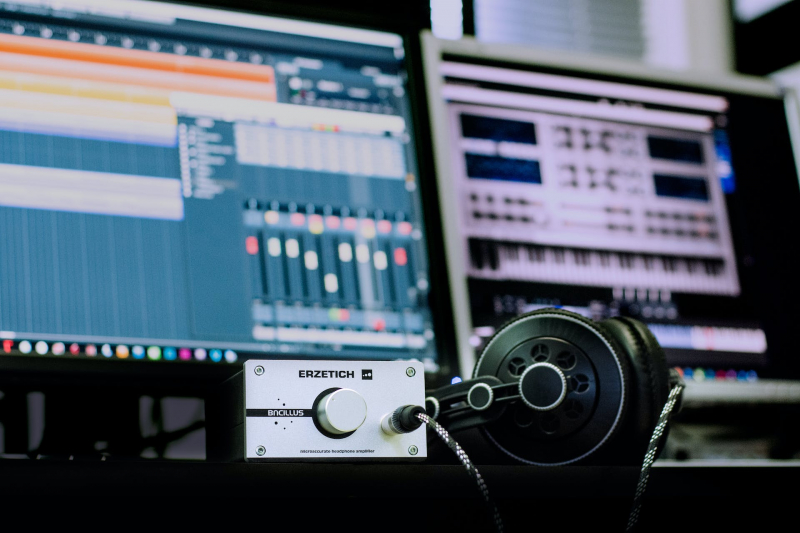
Image by Blaz Erzetic via pexels.com