Top 5 Best Ways to Fix a Stuck Pixel on Your Screen
A stuck pixel is not a hot pixel, as hot pixels only appear mainly in digital cameras. Therefore, it is necessary to properly distinguish stuck pixels and come ... read more...up with the most appropriate treatment methods. Because we know that having stuck pixels on the screen can be annoying, Toplist has come up with some methods you can try to fix it.
-
JScreenFix is a tool that will help you find a way to fix stuck pixels on the screen. It is not a tool to help you find stuck pixels.
How to fix stuck pixels on the JScreenFix tool is as follows:
- Click the Launch JScreenFix button at the bottom of the page.
- Wherever you see a big "Start" or "Start Now" button, ignore it because it's just an ad.
- The tool will load a black browser window with a square of flashing pixels.Press the green button at the bottom right to go full-screen mode. Then drag the flashing square to where you found the stuck pixel and leave it there for at least 10 minutes.
- To do that, JScreenFix activates different subpixels of each pixel, graphics that can massage a stuck pixel back into action.
JScreenFix has been applied to millions of screens and is considered the most effective software solution available for repairing defective pixels.

JScreenFix 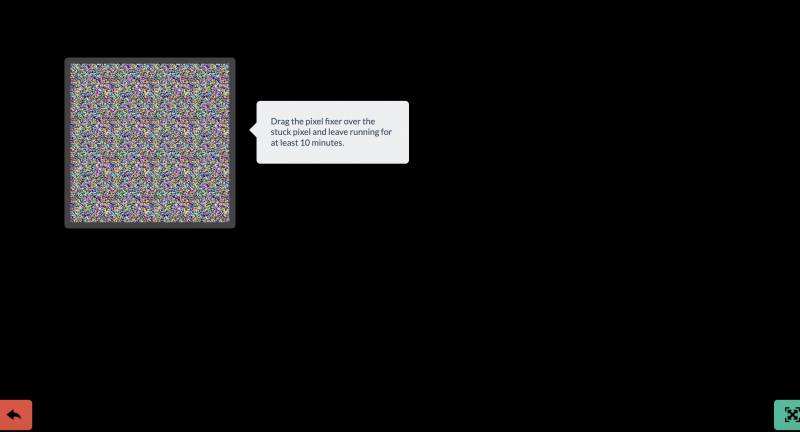
JScreenFix -
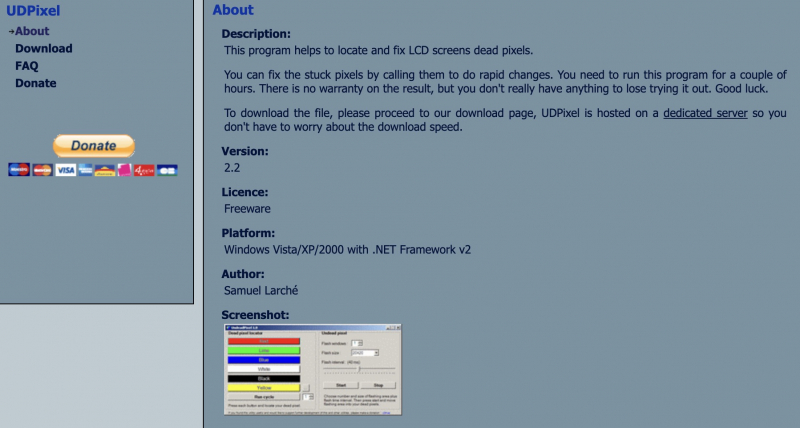
If you are looking for a tool to help you identify and fix pixels, you might want to check out UDPixel which is the second tool mentioned by Toplist. However, please note that this tool requires the Microsoft .NET Framework and is only available for Windows users. If you prefer not to download or install any software, there is another way to do it that is suitable for your device.
Please follow and follow these steps:
- To use the Dead pixel locator, simply click on the left side of the tool and it will help you easily identify any abnormalities on the screen that you may not have noticed before.
- If you come across a suspicious pixel, switch to the Undead pixel side of the tool, create a flashing window for each stuck pixel, and click on the Start button. You can drag the flashing windows to the area where the odd pixels are located.
- Let the flashing windows run for a while and adjust the Flash interval as necessary.
To download the file, please visit the download page that Toplist mentioned, UDPixel is hosted on a dedicated server so you don't have to worry about the download speed.
Website: http://udpix.free.fr/
Screenshot via https://udpixel.en.softonic.com/ 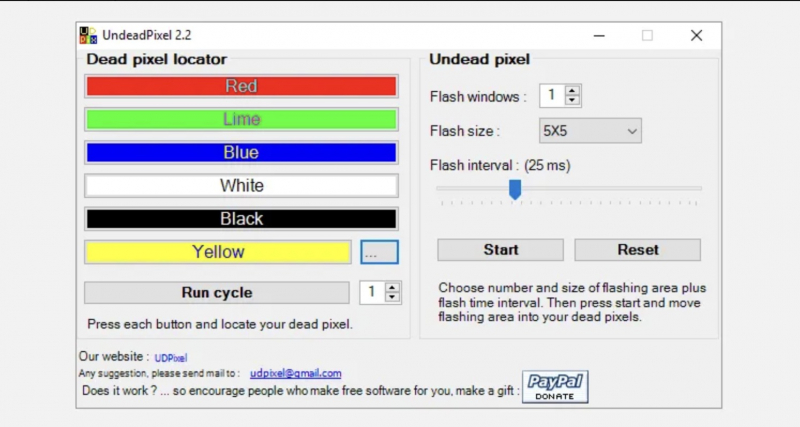
UDPixel -
InjuredPixels is a software tool that helps detect dead, stuck, or hot pixels on your screen designed by PixelHeader. On the other hand, PixelHealer provides a draggable window with a customizable size where you can flash a combination of black, white, all basic colors, and even custom colors. You can also adjust the flashing interval and set a timer to automatically close the application.
PixelHealer will appear as a window allowing you to adjust and control dead pixel repair:
- The Settings window will open automatically when the program starts: To close it, click the Close Settings button. To open, right-click on the flashing repair window, press Escape, or click the PixelHealer icon from the Windows taskbar notification area.
- Start flashing/Stop flashing: Click the Start Flashing button to begin the dead pixel repair process.Or there will be a Stop Flashing button and you can use it to stop (pause) the flashing at any time.
- Flashing interval: Use the Flashing Interval tracker to change the flashing speed. Remember the 10ms interval between color changes is the default setting.
- Flashing window position and size: Enter any pixel value in the two fields to change the position and size of the flicker repair window. You can also choose available sizes such as 1x1, 5x5, 10x10, and up to 500x500.
- Flashing colors: You can choose between standard RGB colors: Black, White, Red, Green, and Blue. Or add custom colors depending on your needs.
- Close settings: Click this button to Close Settings window but leave the flashing repair window active.
- Close PixelHealer: To close the application, click the Close PixelHealer button at the bottom right.
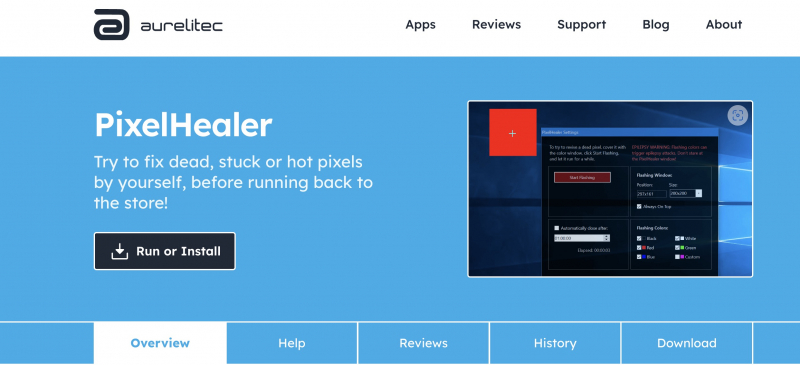
Screenshot via https://www.aurelitec.com/pixelhealer/ 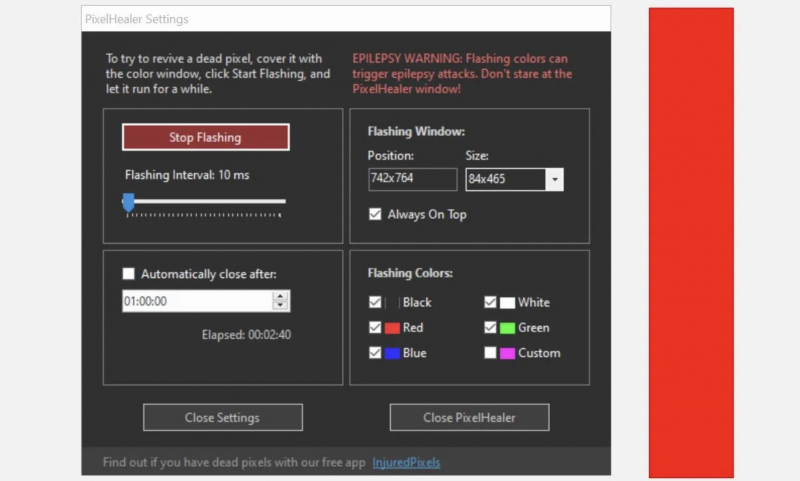
PixelHealer -
You can use Dead Pixel Test and Fix to fix dead or stuck pixels on the screen after detecting pixel abnormalities.
The steps are as follows:
- Let it run through all the colors in "Auto" mode to detect if you have any strange pixels on the screen.This test will help you identify dead pixels in a variety of colors and patterns on your screen.
- Choose a color for full-screen display and follow the on-screen instructions. If you're browsing from a smartphone or tablet, run one of the dead pixel test videos available on the website.
This tool can both check and fix dead or stuck pixels on your device. So, you can refer and try it out.

Screenshot via https://deadpixeltest.org/ 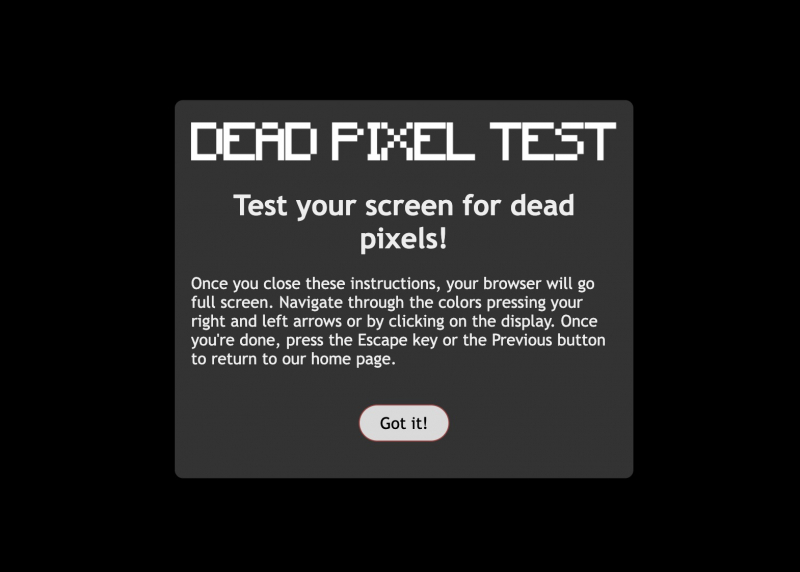
Screenshot via https://deadpixeltest.org/ -
Alternatively, you can apply the final method of fixing stuck or dead pixels manually.
Let's take a quick look at the following manual technique:
- Turn off your screen.
- Have a damp cloth ready to avoid scratching the screen.
- Apply pressure to the area where the stuck pixel is. Pressure should only be applied to the area where the pixel is stuck, avoid applying pressure anywhere else which will trigger the creation of more stuck pixels.
- While applying pressure, turn on your computer and monitor.
- Remove the pressure and the stuck pixel will disappear.
This manual method is based on using liquid to apply pressure through the pixel, which will then push the liquid out, and when you release the pressure, the liquid will push in, spreading it around as usual.

Image by Marcus Aurelius via pexels.com 
Image by Suzy Hazelwood via pexels.com


