Top 7 Best Ways to Fix the “A Disk Read Error Occurred” Error on Windows
If you have ever encountered the message "A disk read error occurred" on your Windows computer, you know how frustrating it can be. This error can prevent you ... read more...from booting up your system or accessing your data. Fortunately, Toplist has brought to you 7 best ways to fix this problem and restore your disk functionality. Let's check it out!
-
It's important to understand that your computer's hardware functions optimally within a specific temperature range. However, if your computer starts to overheat, and its internal components become excessively hot, various issues can arise, including the dreaded "A disk read error occurred". If you encounter this error, it's essential to take immediate action.
To resolve the problem, save any ongoing work and power down your computer for a few hours. If the error disappears after this cooling-off period, it's advisable to investigate your computer's cooling system and ensure that it has adequate airflow. You can also employ a computer temperature monitoring application to keep a watchful eye on your hardware's temperature, thereby reducing the likelihood of encountering the same issue in the future.
By taking these steps, you can maintain your computer's efficiency and prevent overheating-related errors, such as the one mentioned.
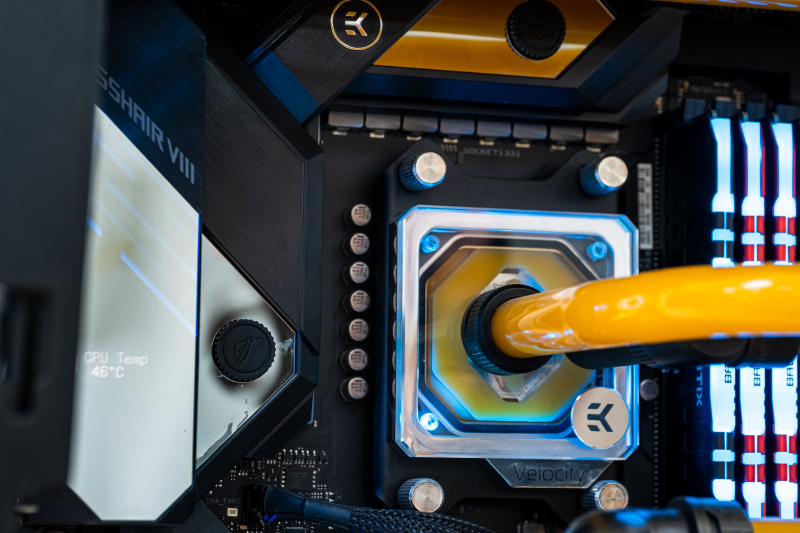
Image by Barez Omer via Unsplash 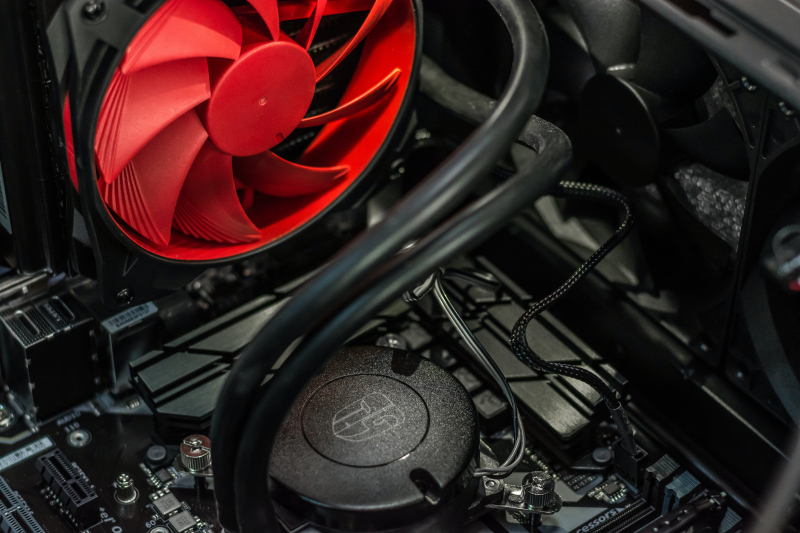
Image by Alexandru-Bogdan Ghita via Unsplash -
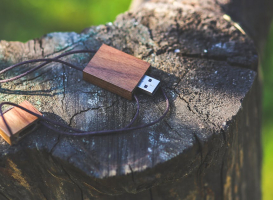
Sometimes, your computer may attempt to start up from a connected device due to a change in boot priority settings. In such a situation, the simplest solution to resolve the disk read error is to unplug any external devices.
Surprisingly, even a small USB flash drive can trigger disk read problems if the boot order is not correctly configured. By unplugging these external devices, you eliminate the chance of your computer trying to boot from them, allowing it to boot from its primary internal drive smoothly.
This simple step can swiftly rectify the issue and get your computer back on track, ensuring a hassle-free start-up process and preventing disk read errors caused by incorrect boot priorities or external device interference.
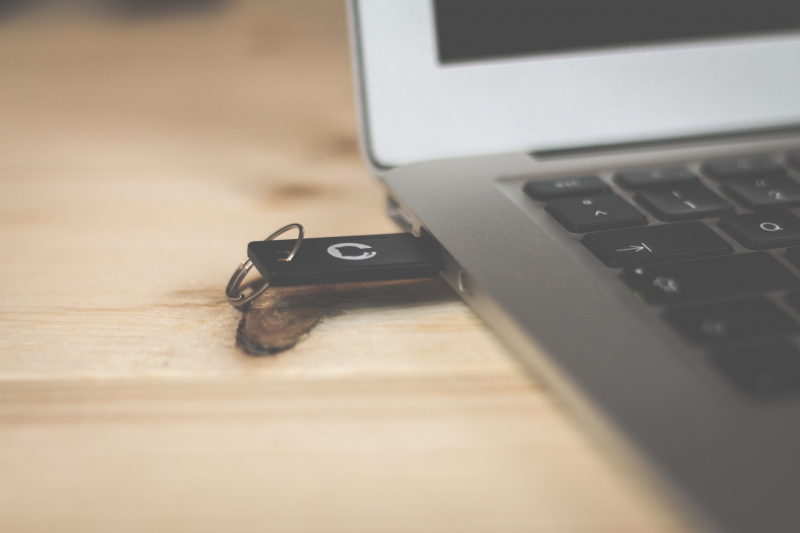
Image by Brina Blum via Unplash 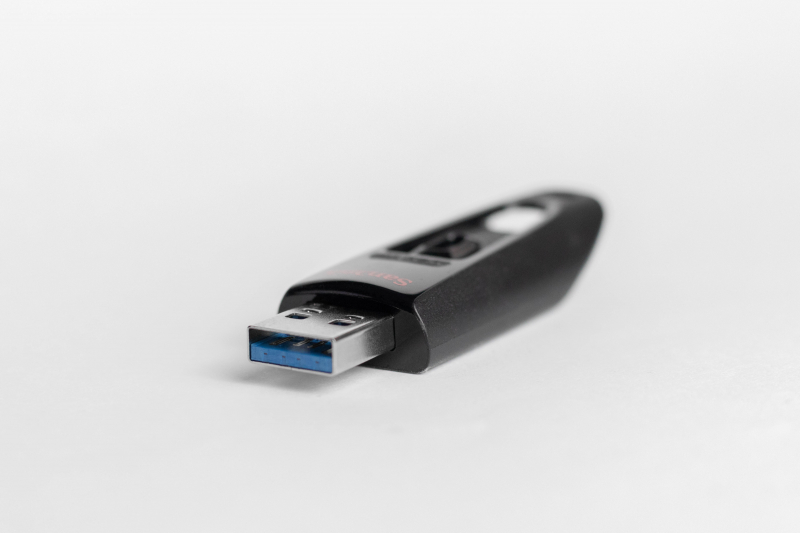
Image by Sara Kurfeß via Unsplash -
Another reason for this problem could be a bad connection between the hard drive and the computer's main board. If you're comfortable with tech stuff, you can open up your laptop to make sure the motherboard is still securely in place.
For a desktop computer, check the cable that links the hard drive to the motherboard. You can also try plugging it into a different slot. In that case, you might need to change the startup order to use the new slot.
You can also take this opportunity to clean your laptop because too much dust can mess up the hard drive's connection. If you're not sure how to do this or don't have the right tools, it's best to have a professional service take a look at it.
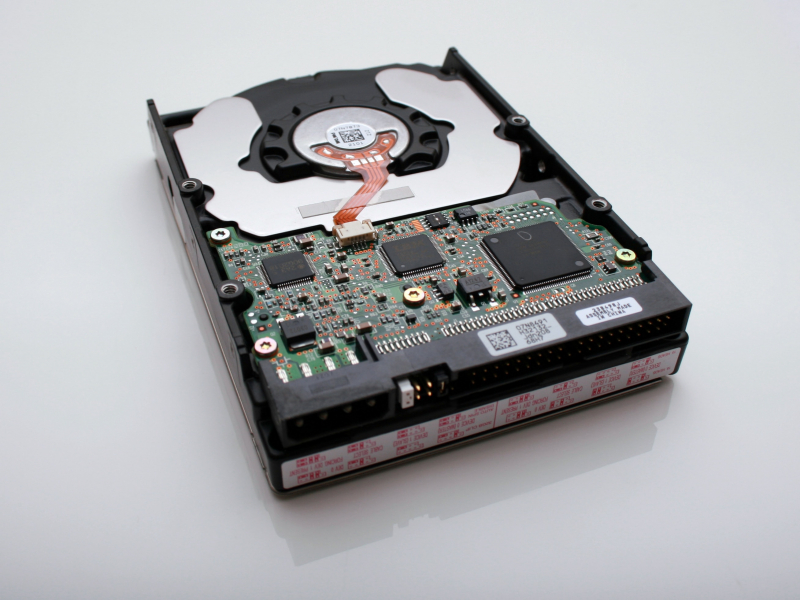
Image by Vincent Botta via Unsplash 
Image by Alexandre Debiève via Unsplash -
When facing disk-related problems on your Windows computer, it's essential to utilize the CHKDSK utility. CHKDSK is a helpful tool that scans your hard drive for various issues, primarily focusing on logical problems. It can detect and resolve problems such as missing file metadata, improper file types or sizes, corrupted files, and bad sectors.
By running CHKDSK, you can potentially prevent or fix these issues, improving your computer's performance and data integrity. It's a valuable built-in feature that can be accessed via the Command Prompt, and it's a recommended step in troubleshooting disk-related problems to ensure your system operates smoothly and your data remains secure.
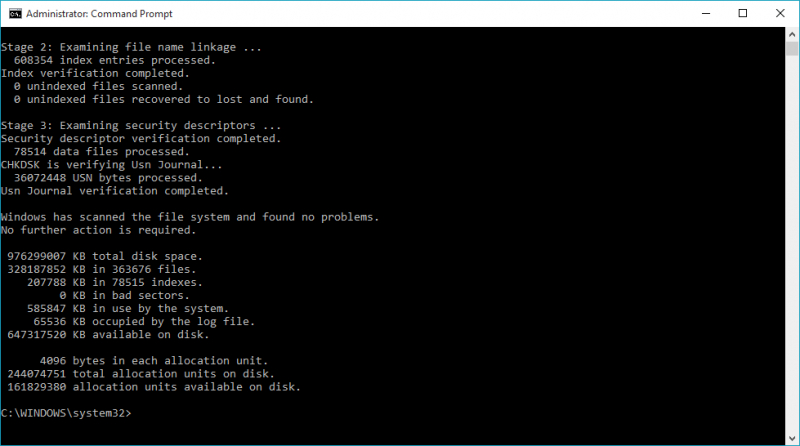
Image via Wikipedia 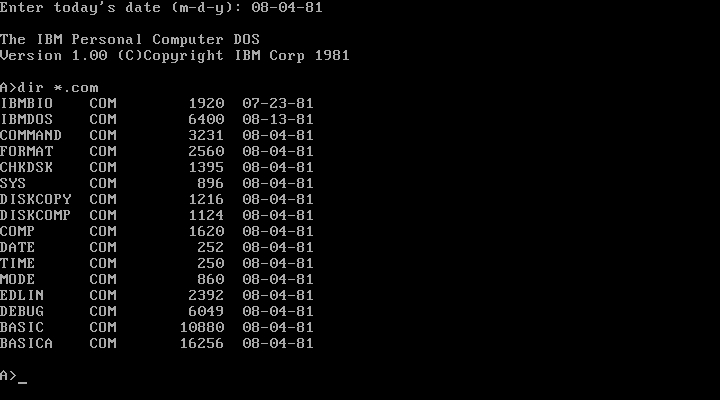
Image via Wikipedia -
Disconnecting external storage devices all the time can be a hassle, especially if you're using them to save space or run apps. However, you can make sure your Windows computer starts up from the right place without unplugging them.
Here's how: Enter your computer's BIOS (you can usually do this by pressing a specific key when you start up your computer). Then, go to the "Boot" section in the BIOS settings. Look for "Boot Device Priority" and choose your computer's hard drive as the main boot option.
By this way, your computer will always start from the internal hard drive first, so you won't have to deal with the inconvenience of unplugging external devices all the time while still ensuring a smooth startup process.
Image by Windows via Unsplash 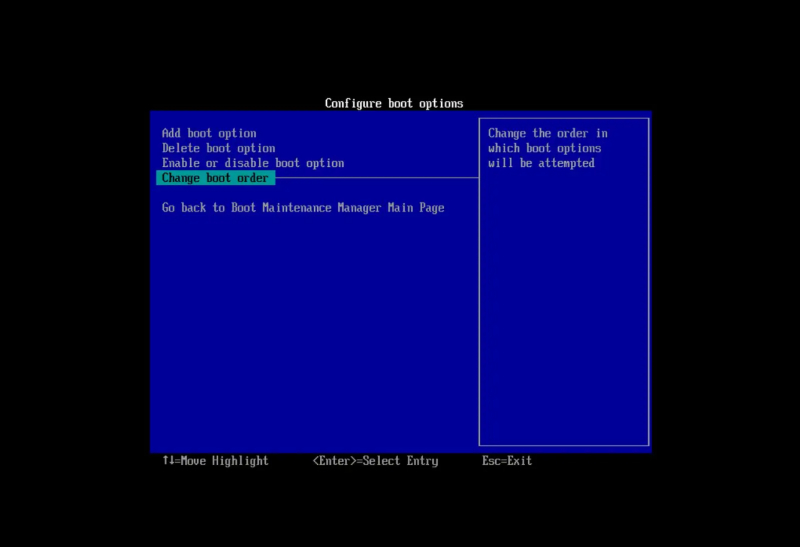
Screenshot on Windows -
If you suspect your BIOS settings are outdated or incorrect, there's a straightforward way to address this issue. Rather than manually adjusting each setting, you can reset the BIOS to its default configuration.
Here's how: During your computer's boot-up process, access the BIOS settings. Look for options like "Load Setup Defaults" or "Load Default Settings". Choose one of these options, press Enter, and then confirm the action by selecting "Yes".
This process resets the BIOS to its original factory settings, potentially resolving any issues arising from incorrect or outdated configurations. It's a simple yet effective way to ensure your system's BIOS is running with the right parameters.
Image by Windows via Unsplash 
Image by Tadas Sar via Unsplash -
If restoring the BIOS to its default settings didn't resolve the problem, it's advisable to consider a BIOS update. Outdated BIOS versions can lead to communication problems among your hardware components. In situations where you encounter a disk read error, updating the BIOS is a potential solution that can help rectify the issue.
This process ensures that your computer's firmware is up-to-date, which can contribute to better hardware compatibility and smoother operation. Always exercise caution and follow the manufacturer's instructions when updating the BIOS to avoid any potential risks or errors.
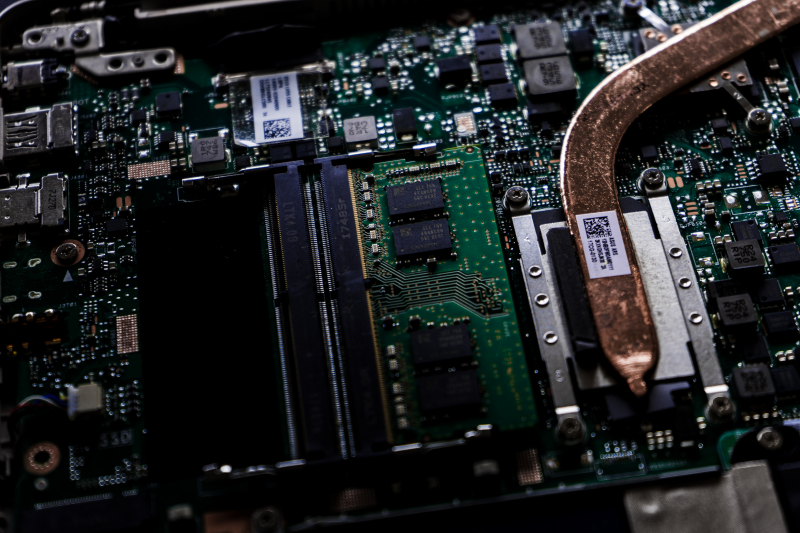
Image by Artiom Vallat via Unsplash 
Image by Umberto via Unsplash


